As a photographer, you’ll want to improve the way you take photos and portraits. Photography techniques, such as bounce light, the rule of thirds, and others can help you compose your photos, add more depth, and create a brilliant result. When it comes to preparing for a photo assignment, or a shoot with clients, photography tips and techniques can give you stellar results, which makes both you and the client happy.
Today let’s talk about the bounce light technique and how you can use it to improve your photography skills. This blog will give you an overview of the photography technique and list some easy-to-follow tips to master the technique.
Bounce Light: What is it?
As the name suggests, bounce lighting is a technique where you literally bounce the light from a strong light source towards the subject. Such lighting is achieved by using surfaces, which could be a reflector, a light-colored surface, walls, or ceilings. The objective of this is to spread the light and make it even. When you use this technique, you can create a bigger spread of light than the original source. Additionally, you can also diffuse the light onto your subject.
The bounce lighting photography technique helps you to minimize strong shadows. Usually, this technique is used by product photographers to bring out every detail of the product. But the application of this technique for portraits is similar and gives you more control over the details. You can master bounce light photography to click stellar portraits. Wondering how? The next section has some tips that can help you master this technique!
Tips to Master Bounce Light Photography
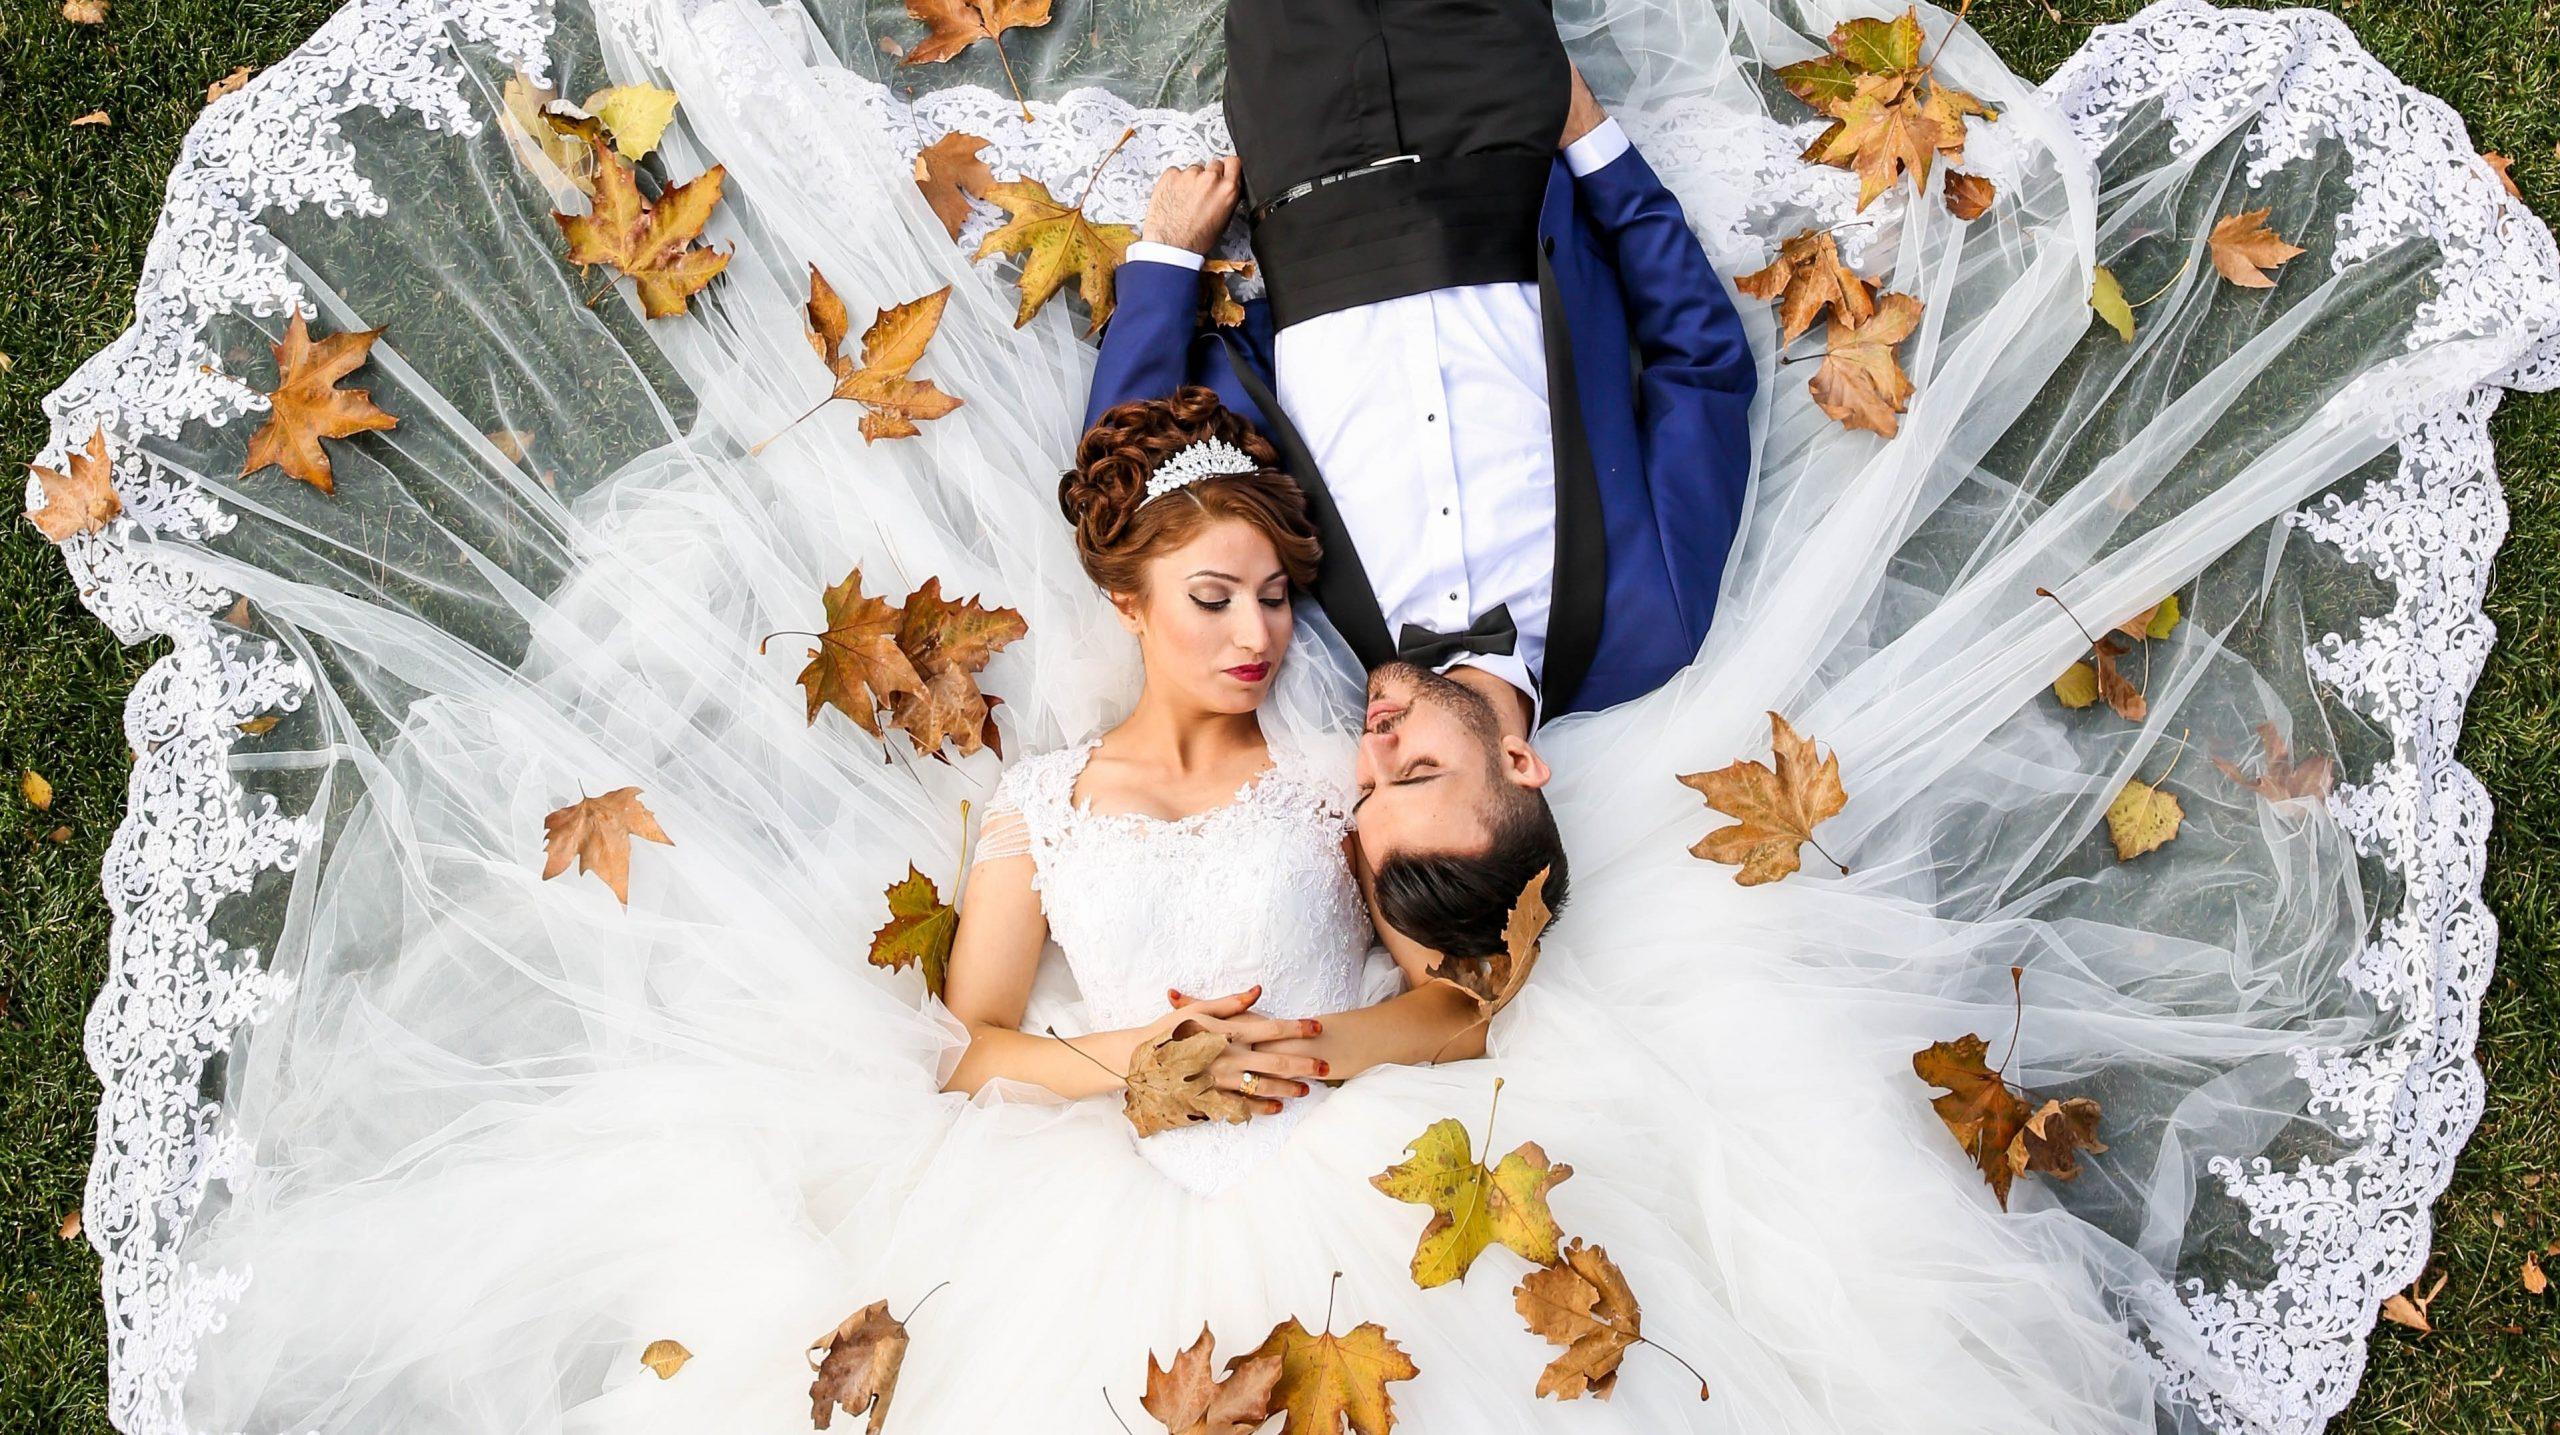
Bounce lighting can help you to improve the lighting of the scene you intend to capture. What’s more, you can utilize the visual look bounce lighting creates. The technique is perfect for when you’re shooting in smaller spaces. For example, if you’re on a wedding photo assignment, you might want to utilize a brilliantly designed or decorated small space at the wedding venue, or you may find a corner when you’re exploring the photo shoot location for a family photo shoot.
Bounce light photography is your best friend when the space you’re taking photos in does not allow you to create a softer light. Here’s how you can use the technique to your advantage:
1. Know What to Use
The first thing to keep in mind is that to bounce light, you need a reflector. The first option is the obvious one, use a reflector. But if you can’t use a reflector, you can use ceilings, screens, water, tiles, or even books. However, remember that these need to be white or gray. Packing a portable reflector for your photo assignment will also help you tremendously.
2. Multiple Reflectors for Group Portraits
If you’re taking photos of a large group, the best way is to use multiple reflectors. Although a single reflector can help you bounce the light properly, sometimes it can fall short. You can place the reflectors to illuminate the space to light up the space. However, you may either need your photo assistant’s help to hold the second one or come up with a creative way to use the reflectors. But remember, if you can get the light to bounce with a single reflector, you won’t need multiple reflectors.
3. Pay Attention to the Color of your Bounce Surface
Bounce light photography works with any reflective surface, that’s a fact. But what you need to keep in mind is that if you’re using a colored surface, then the light may change. You will see the color of the paint, fabric, or wallpaper bleed into your photos. However, you can use colorful streaks to add more value to your photos. But if you want your photos clear and don’t want any noise in the photos, then you should only use white or gray bounce surfaces. If you want to use fabrics, the same rule should be applied.
Additional Tip: A great way to add depth to your photos is using different bounce cards or surfaces. For example, white is a standard color of choice. But the thing is, you can even use a silver bounce card, or you can use matte silver bounce cards to help you add a different form of light. What’s more, you can use a fill card instead of a board, sheet, or wall. You can create different fill cards, to help you improve the result. For example, a gold bounce gives you warmer portraits, a silver bounce gives you cooler tones in the portrait and a white bounce will give you a realistic portrait.
4. Be Experienced with Impromptu Bounce Surfaces
When it comes to creating the right surface, there are times you won’t have all the tools. So, you should consider keeping an eye out for surfaces you can use as your bounce surface. A great way to always have your surface right is to carry a white sheet. You can pull this out to use as your bounce surface. Remember that you still need to place it correctly and secure the sheet so that it acts as a screen. Or you can use a portable backdrop, white preferably. Another way to always be at your best, you should take note of your surroundings. Sometimes, your surroundings will have the right qualities to act as a white screen! For example, if you have a stairway, and it has mirrors on either side, it can double as a bounce surface.
5. Don’t Be Shy to Adjust your Light Source
Although most of the tips so far have been about learning how to use the bounce surface, this one is a little different. If you’ve placed your bounce surface or reflector in the perfect spot and yet your photos don’t turn out the way you think they should, then the problem could lie in the placement of your light source. After trying to place the bounce surface in the right direction, you should consider changing the source. Even a tiny adjustment can help you create the right difference. You should try adjusting the light source to different angles after placing the reflector or the bounce surface. You can even try to change the angle of the bounce board or surface. If that doesn’t work, you can try changing the distance between the light source and the bounce board.
6. Add More Props to your Bounce Lighting Set-up
When you’re trying to capture the perfect photo, lighting is essential. If you can’t find the right bounce board, then you should try looking into adding more things to your set-up. You can use other props and reflectors, to create the perfect set-up. What’s more, once you master how to use white surfaces as a bounce board, you can experiment with different colors. Try to add more details by using smaller bounce boards to add colorful light. You will need practice. Whenever you have some time, practice using the standard bounce board and reflectors, and slowly make your way to adding color. For example, apart from walls and surfaces, water and books create soft light.
7. No Hot Lights
When you’re bouncing light, always use soft lights. If your light source creates a lot of heat, that’s a big no. No matter how good you become with the technique, you should only use soft lights and those that do not produce a lot of heat. When you take photos, you’ll need light for the entire session. That said, lights that produce a lot of heat will not only make the small room exceptionally warm but will also increase the chances of your bounce board catching fire. What’s more, lights that are hot will, even if you’re doing everything right, not give you the perfect kind of “soft light,” thereby defeating the purpose entirely.
8. Ceilings Are a Great Help
When you’re taking portraits of your subject or subjects, and you don’t have the time to set up the space with lights and bounce boards, you can just use the ceiling! All you need to do is position your light source in a way that throws all of the light directly into the ceiling. The ceiling will act as your bounce surface and throw the light downwards onto your subject or subjects. Another advantage of using this technique to make your portraits perfect is that it helps you avoid red-eye and helps you eliminate the chances of your photos looking “flat.” The ceiling lights will help you add depth to your photos.
Additional Tip: The best way to master any photography technique, is to know how to bend it, meaning you’ll need some additional photography tips to help you master any technique. As we just discussed, ceilings help you create a great set-up for bounce light, and you can master it fairly quickly. However, once you do, you can couple this with other forms of light. Better yet, you can bounce light off books and mirrors to get a realistic portrait of your subject or subjects.
9. Flash Diffusers
Now that we’re pretty much at the end of our list, let’s talk about some of the obvious ways to handle light. The first thing to remember is that bounce light helps you illuminate the details of your subject or subjects, which is a crucial part of your portraits. So, that means, using flash modifications will help you out just as much as a fill card or a reflector would.
To use this to your advantage, you’ll need a way to reflect the light and use the camera in manual mode. You won’t need to use your camera in manual mode every time, but sometimes you may have to. Other than this, using a business card or a notebook to diffuse the light of your flash will do the trick just as well.
10. Practice
Pretty much every list of “tips” to work with photography skills and techniques comes to an end with the same tip, practice. Find the time to experiment with the new skills you are developing and techniques you try out. The thing is, the more you practice, the more comfortable you will become with yourself, the light, and the camera. The point is to keep practicing until this technique becomes second nature to you. Practice sweeping the area, when you walk in, to check for bounce surfaces, experiment with fill cards in nature, try using the technique on products or try using flash diffusers at night with a friend to see how the photos turn out.
We hope the blog helps you master bounce light and helps you add more depth to the portraits you take. Always remember, for you to break a rule or have a creative idea, you need to understand the basics first. Use the list above to understand and master the basics, before you start experimenting with different ideas.