New-age digital videography recording equipment is already accommodated with high-quality features for creating videos with crisp and vivid audio and video details. But a lot of videographers always find that there are many background noises that can distract the viewers’ attention from the main content. Hence getting clean audio is inevitable for creating good content. Filmmakers and videographers can easily achieve good quality audio in their videos and films by focusing on the right audio component and helpful filming tips. These few extra steps can help to prevent the problems with audio from occurring and also the post-production tips can repair the inevitable damage that already takes place. From appreciating the importance of location audio and the set of right tools to pre-production and post-production measures, a lot goes into making a great and captivating video. While creating high-quality videos, you should focus on impacting the overall experience of the viewers with the perfect balance between the audio and video. It is said that 50% of a viewer’s experience depends on the audio quality and the next few tips for videography’s audio can help you to create films and videos with impeccable audio quality.
Tips for amazing high-quality videography audio:
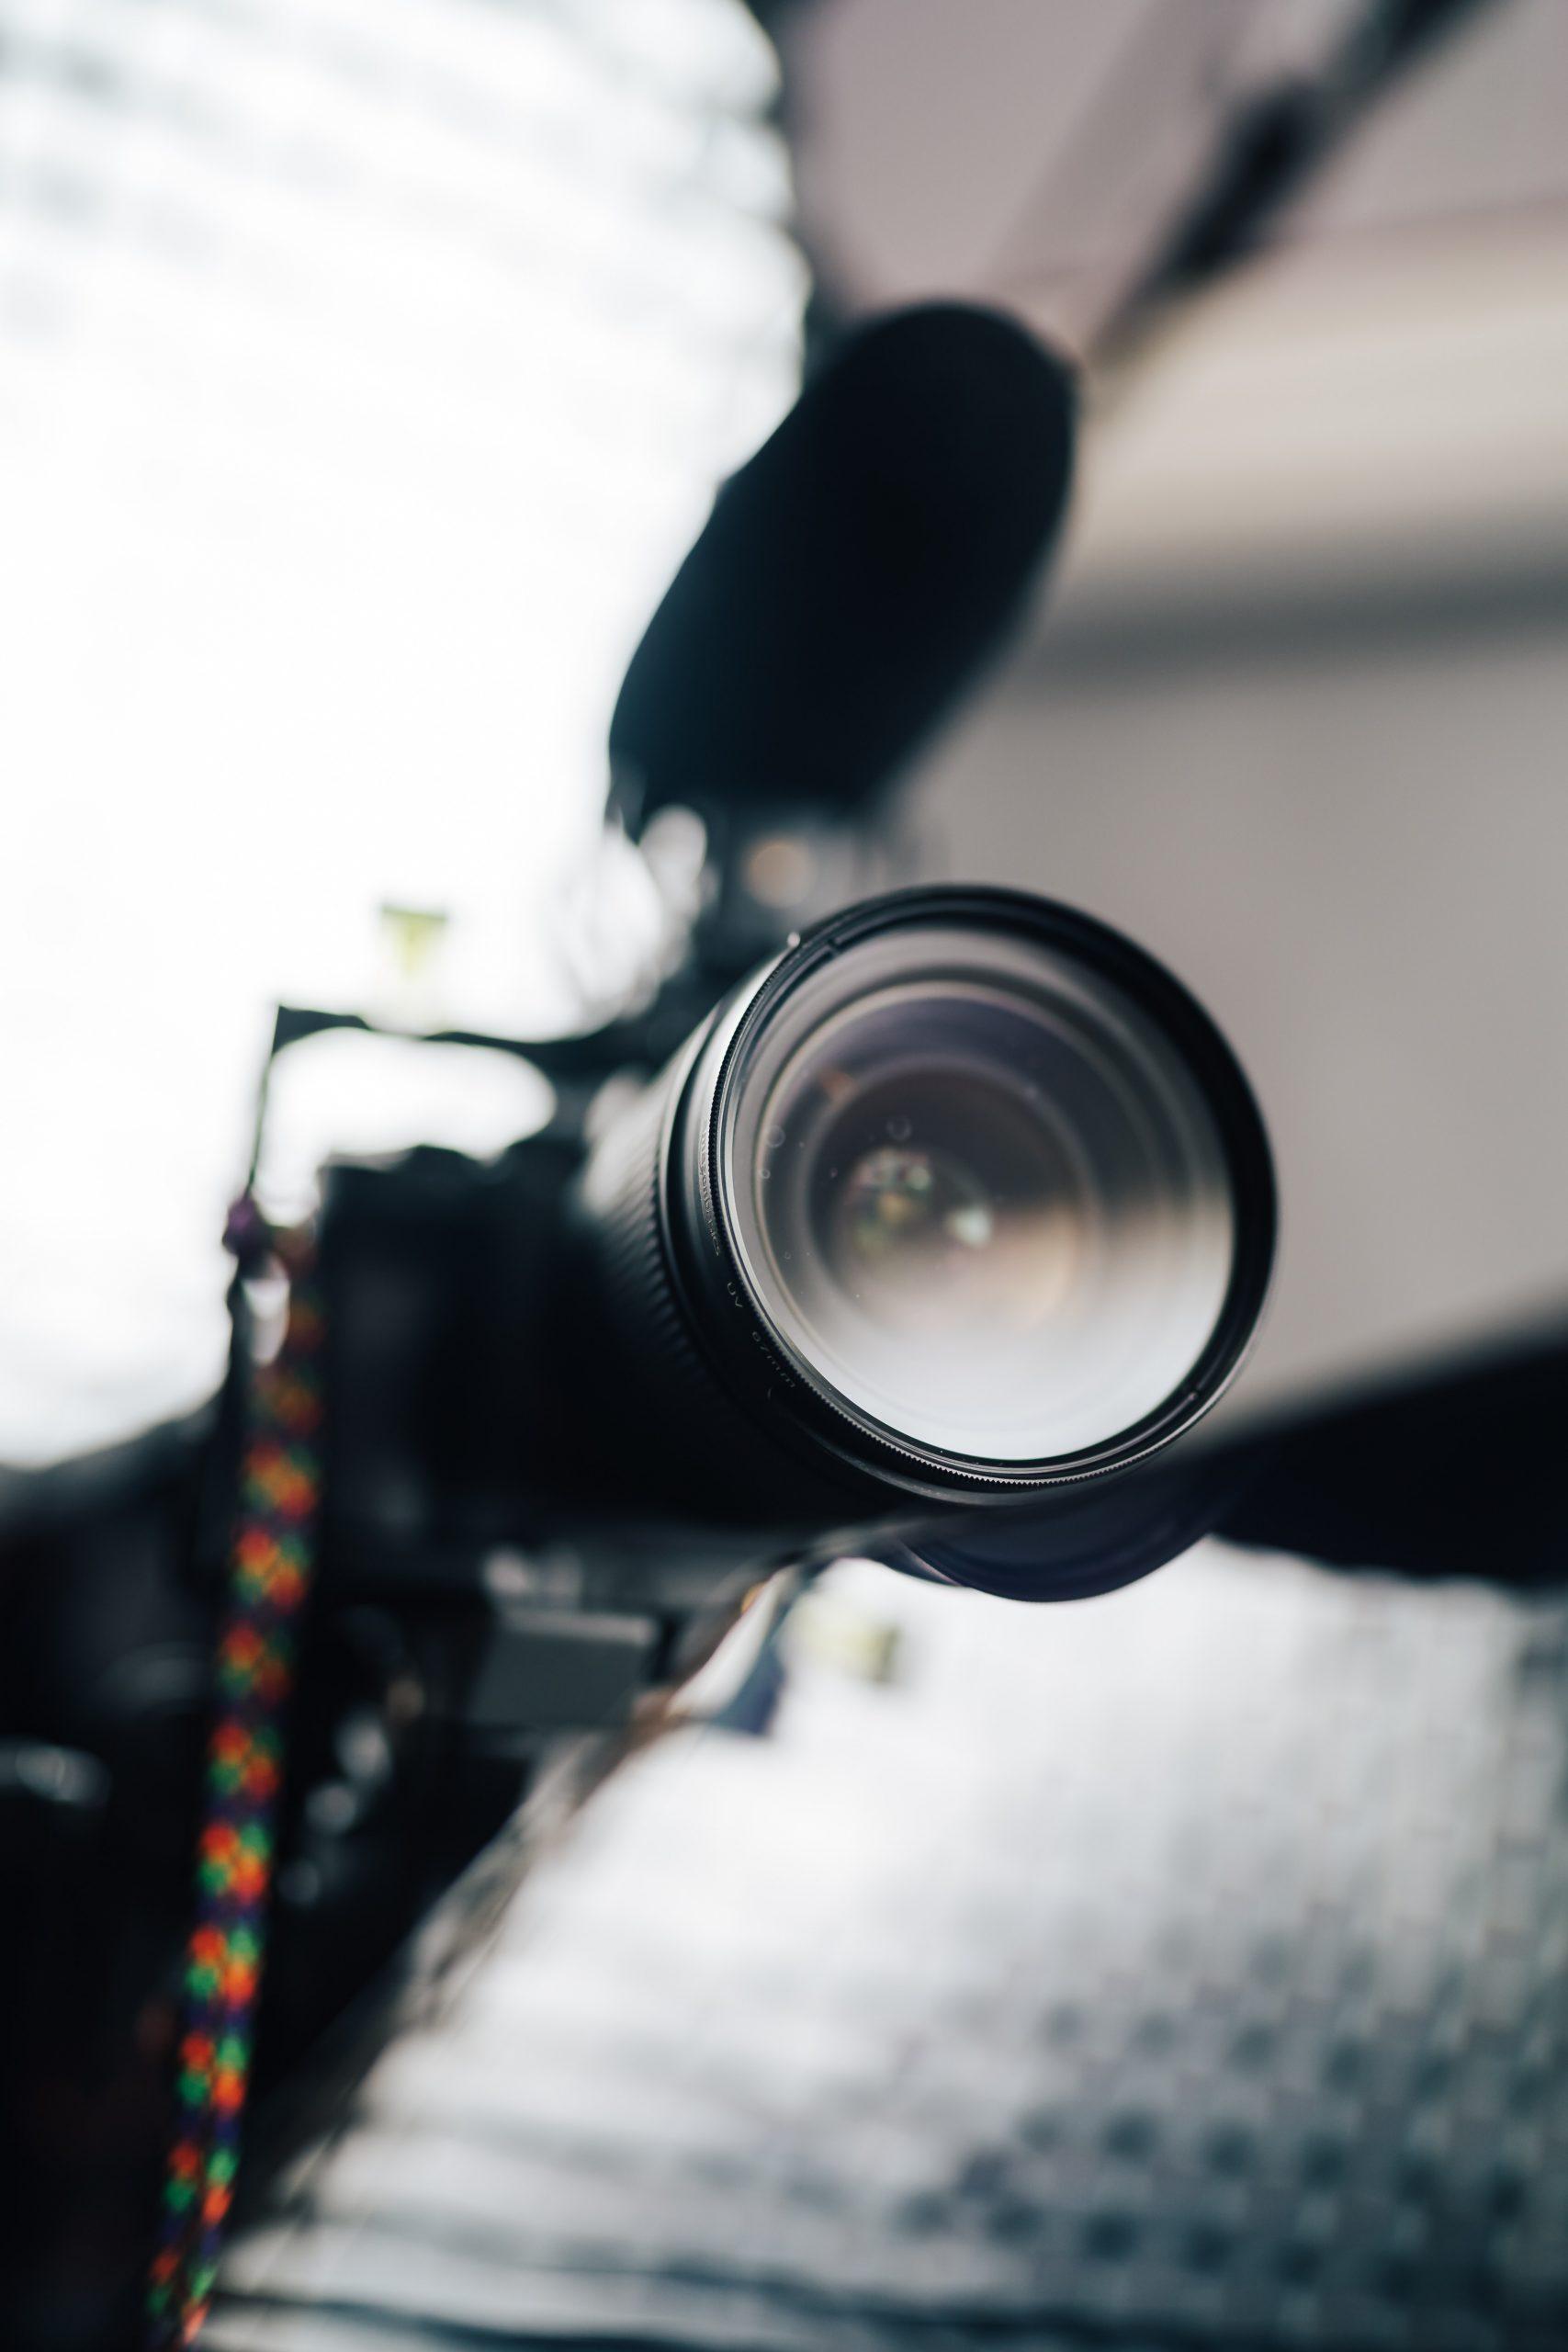
Choosing the right mic for the assignment
Having the right set of tools is just like dressing up for the job you want! The perfect microphone at the right place can make all the difference in the world when it comes to the quality of your audio. There is a wide range of microphones in all shapes and sizes and specifications that are used in video production, and each of these different pieces of equipment has a certain strength that allows it to capture greater audio in a specific environment. We recommend that you purchase at least one additional microphone for your camera setup!
- Shotguns- Shotguns are perhaps the most adaptable all-around tool you can add to your setup, but they are not designed for really loud environments.
- Wireless- Wireless microphones are the best option for freedom and mobility.
- Handhelds- Handhelds are the most common choice for on-the-go interviews.
- Boundary/PZM- These unobtrusive microphones can be mounted on a wall, table, podium, or anywhere else where you need broad coverage.
- Stereo Microphones– These mics can capture authentic-sounding musical performances and ambiances in both loud and quiet environments with the right gain adjustment.
- Wired Lavalier– A lavalier is frequently the greatest option to get the most direct pickup of an individual person.
Apart from your premier camera lenses and A-quality lighting setup, the quality of your microphone is going to play a vital role in the overall production. There are so many different microphones on the market now that deciding which one to buy or rent can be difficult. We would typically choose a shotgun mic over wireless lavs for a one-man-band situation. While lavs are fantastic tools, they aren’t always the ideal option, especially when taking broad images where a boom isn’t visible. A shotgun mic is highly recommended because there are simply too many factors to consider when you are shooting a video. If you are looking to buy a microphone for your videography assignment, it will be a fantastic long-term investment because, unlike camera equipment, audio equipment lasts a lot longer as they aren’t constantly outdated.
The placement of the mic
Just like lighting scenarios during photography, the placement of the mic plays a key role. Many filmmakers will just place a shotgun mic on top of their camera, start filming and hope for the best. This configuration might work for ambient audio, but if you are recording a talking head or an actor, you shouldn’t have the mic bolstered to your camera. This is due to two key factors. To begin, keep your shotgun mic no more than three feet away from your subject’s mouth. This is especially true with inexpensive shotgun mics, but try to keep it under three feet away as a general guideline. Secondly, when your mic is mounted to the camera, you have far less control over the direction it’s pointing, which is critical for a shotgun mic. Since certain microphones are so sensitive, even if they are pointing slightly in the wrong way, you won’t receive the best audio. One has to be really careful with this. You won’t be able to hold the mic as a single person as you will most likely be rolling the camera, so put it on a stand-out frame, or in an interview situation, have the subject hold the mic off camera.
Choosing locations carefully
Always scout your filming areas ahead of time if at all possible. Bring your camera and microphone, as well as a decent pair of headphones to help you detect troublesome noise sources. This is something you can do during your off-season. What you hear via the microphone is frequently not the same as what you hear with your ears alone. When you listen via your headphones, that air conditioner noise that you have subconsciously shut out may seem considerably louder.
External recorders should be kept
You might be tempted to simply plug your microphone into your DSLR or camcorder, but you should think twice before doing it. Some cameras with XLR inputs can capture excellent audio inside, but for the most part, DSLRs will disappoint! Not only do they lack adequate preamps and other essential components, but many of them also lack a headphone connector, making it hard to check your sound. Not to mention that some phantom power mics won’t work with DSLRs because the mic can’t be powered through a 3.5 port. If you must record directly to a DSLR, invest in a battery-powered shotgun mic and place it as close to your subject as feasible. However, an external recorder, such as a Zoom H6, is recommended. As you may expect, there is a significant difference in quality between using a Zoom and going straight to the camera.
Protect your microphones from wind
Include this point while creating your checklist from a videographer’s POV! If you are going to be out in the elements, make sure your microphones are protected from the wind and weather. Keep in mind that lightweight foam windscreens will not be enough for any form of actual breeze, so consider investing in more robust wind and rain protection when shooting outside. Wind noise at a lower frequency and falling rain might quickly leave your job ineffective.
Keep a keen eye on everything
Make sure you are continuously monitoring your audio with headphones, whether you are shooting straight to the camera or to an external recorder like the Zoom. You can’t only rely on the audio meters on your camera or gadget because they may appear to be working great when they aren’t. Keep a nice pair of headphones on you at all times, even if everything is going smoothly. Something could go wrong with any section of the audio pipeline as soon as you remove them, and if you are not paying attention, you will be in danger. Make sure your future camera has a headphone jack built-in, or if you already have a DSLR without one, there’s even more incentive to invest in an external recorder so you can properly check your audio and ensure it’s of good quality at all times.
Using hardware compressors and limiters
Using a hardware dynamics processor in a studio interview or voiceover situation is a terrific idea. Compressors and limiters are often ignored devices that can assist in smoothening out your signal and allow you to record at higher levels. Many portable field mixers have limiters built-in, so don’t be hesitant to use them in your studio as well, as a little restricting can go a long way.
Understand the room tone or read the room’s ambiance
Always remember to take 30 seconds to record room tone before you depart, even if it’s the last thing on your mind at the end of a lengthy shoot when you just want to pack up and call it a day. For those unfamiliar with the term, room tone refers to the ambient sound of the room in which you are recording. Do this step as you start preparing for your videography assignment. So, if you are filming an interview in an office, you will want to record only the sound of the office, without any talk or other sounds, so you can use it in post for a variety of reasons. For starters, using room tone in post-production can help you reduce overall noise in a scene. Transitions can also be smoothed out with the use of room tone. You can use room tone to patch over portions of your video that don’t have background sound and to stretch fades so that you can blend in and out of different cuts more smoothly.
We’ve just touched the surface of audio recording, which is actually an art form in and of itself. However, if you take a few simple tips and put them into practice, you will start to get much better outcomes than if you don’t prioritize audio at all. Your work will immediately improve once you understand the importance of audio and the basic guidelines to follow in order to produce a clear recording.