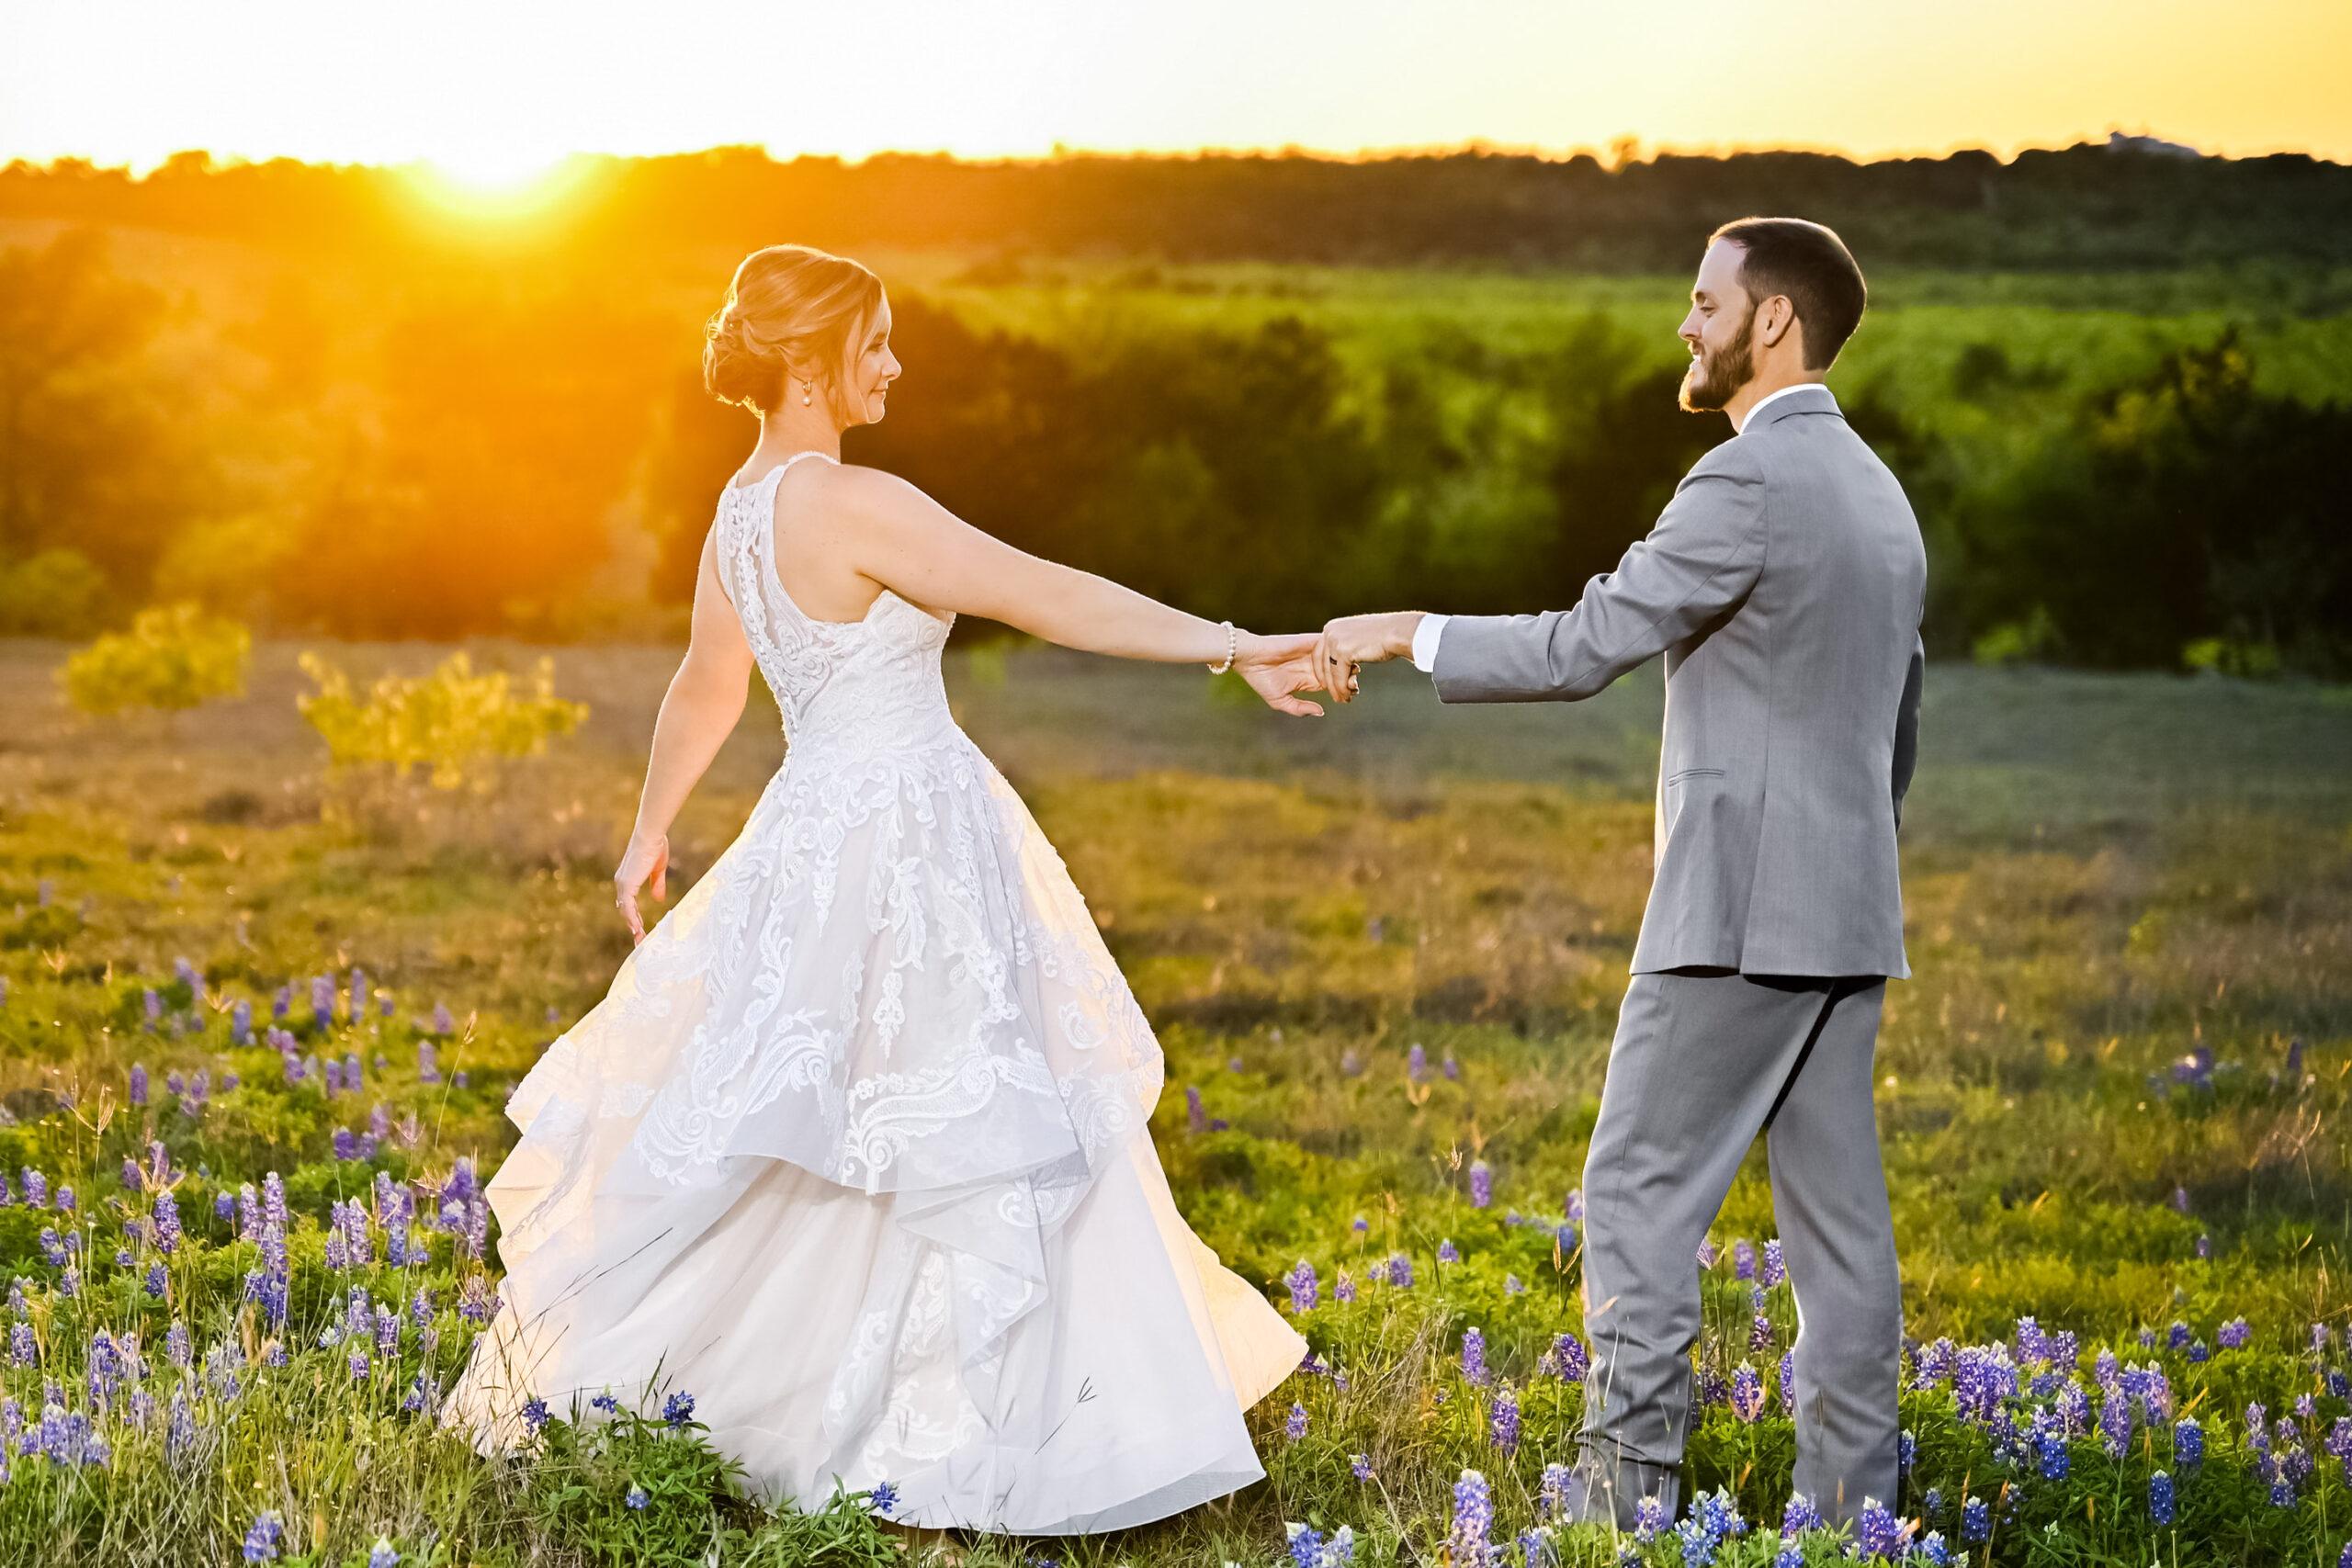
As a seasoned wedding photographer, you understand that a well-structured timeline is the backbone of capturing a wedding day seamlessly. It’s not just about knowing when events will occur; it’s about ensuring you have the time and space to create stunning, meaningful images that tell the couple’s story. A thoughtfully curated wedding photography timeline allows you to anticipate moments, manage transitions, and avoid unnecessary stress, ensuring you deliver a gallery that exceeds expectations.
Without a clear timeline, even the most experienced photographers can find themselves scrambling to adjust to unexpected delays or missed opportunities. From the bride’s getting-ready portraits to the golden hour couple photography session, every segment of the day requires careful planning to maximize your creative potential. A timeline ensures you can balance capturing candid moments with executing posed shots, all while staying on track with the day’s flow. It also helps you communicate effectively with other vendors, such as planners, videographers, and coordinators, fostering a collaborative environment that benefits everyone involved.
In this blog, we’re diving deep into the art of crafting the perfect wedding photography timeline. We’ve compiled 26 actionable tips to help you refine your approach, from consultations to managing unexpected changes on the day. These insights are designed to elevate your workflow, enhance your client experience, and ensure you never miss a moment. Whether you’re fine-tuning your current process or looking for fresh ideas, these tips will empower you to curate timelines that set you up for success every time. Let’s get started!
- Start with a Pre-Wedding Consultation
A successful wedding photo timeline begins with a detailed consultation on the morning of the wedding. Meet with the couple to understand their vision, must-have wedding shots, and the flow of their day. Discuss key moments like the first look, family wedding portraits, and golden hour photos. Use this meeting to align expectations and gather details about the venue, lighting conditions, and other vendors. This step ensures you’re fully prepared to create a timeline that accommodates both the couple’s wishes and your creative process.
- Allocate Ample Time for Getting-Ready Photos
Getting-ready photos are a cornerstone of wedding photography, capturing intimate moments and beautiful details. Allocate at least 60-90 minutes for this segment to photograph bridal details like the dress, shoes, and rings, as well as candid wedding party photos. Ensure the bridal suite has natural light for optimal results. Communicate with the couple about the importance of starting early to avoid rushing through these essential shots.
- Plan for a First Look Session
If the couple opts for a first look, schedule 20-30 minutes for this emotional moment. Choose a private, well-lit location that complements the wedding theme. A first-look photography session not only provides heartfelt images but also allows you to capture couple portraits before the ceremony. This can ease the timeline later in the day, giving you more flexibility for other key moments like family portraits and reception details.
- Coordinate with the Wedding Planner
Collaborating with the wedding planner is crucial for a seamless timeline. Share your photography schedule and ensure it aligns with the overall event timeline. Planners can help buffer time for transitions and manage delays, allowing you to focus on capturing moments. This partnership ensures that every aspect of the day flows smoothly, from the ceremony to the reception, without compromising your photography needs.
- Schedule Family Portraits Strategically
Family portraits can be time-consuming, so plan them carefully. Allocate 30-45 minutes and create a shot list in advance to streamline the process. Start with large group photos and gradually narrow down to smaller family units. Choose a location near the ceremony or reception to minimize travel time. Communicate the schedule to family members beforehand to ensure everyone is present and ready when needed.
- Maximize Golden Hour for Couple Portraits
Golden hour provides the most flattering light for cute couple portraits, so plan this session around sunset. Use apps like Sun Seeker to determine the exact timing. Allocate 20-30 minutes for this session and scout the venue for the best locations in advance. Golden hour photos not only elevate your wedding shoots but also provide the couple with breathtaking images they’ll treasure forever.
- Account for Travel Time Between Locations
If the wedding involves multiple locations, factor in travel time to avoid delays. Use GPS tools to estimate travel durations and add a buffer for unexpected traffic. Communicate this clearly in the timeline to ensure everyone stays on schedule. This preparation ensures you have enough time to set up and capture each segment of the day without feeling rushed.
- Include Time for Reception Details
Before guests enter the reception area, allocate 15-20 minutes to photograph the decor, tablescapes, and other details. These shots are essential for showcasing the couple’s vision and the work of other vendors. Arrive early to capture these images in pristine condition, free from distractions. Use a wide-angle lens for full-room shots and a macro lens for intricate details like centerpieces and place cards.
- Prepare for Unplanned Delays
Weddings rarely go exactly as planned, so build a buffer into your timeline. Add 10-15 minutes between major events to account for unexpected delays. This flexibility allows you to adapt without compromising your wedding photo list. Communicate with the couple and planner about the importance of staying on schedule while remaining adaptable to changes.
- End with a Grand Exit Plan
If the couple has planned a grand wedding exit, such as a sparkler send-off or confetti toss, schedule time to set up and capture this moment. Coordinate with the planner to ensure guests are ready and the lighting is ideal. Use off-camera flash or continuous lighting to highlight the couple while maintaining the ambiance. A well-executed grand exit provides a perfect closing shot for the wedding album.
- Plan for Bridal Party Portraits
Allocate 20-30 minutes for bridal party portraits, ensuring you capture both formal and fun shots. Choose a location that complements the wedding theme and offers enough space for group photos. Start with traditional poses and then transition into candid, playful moments. Communicate with the bridal party beforehand to keep the session efficient and enjoyable. These photos are a great way to showcase the couple’s closest relationships and add variety to the wedding gallery.
- Scout the Venue in Advance
Visit the venue before the wedding day to identify the best photography spots. Look for areas with natural light, unique architectural features, and scenic backdrops. Familiarize yourself with the layout to plan transitions between locations efficiently. Wedding venue scouting also helps you anticipate potential challenges, such as lighting conditions or restricted access, allowing you to adjust your timeline accordingly.
- Incorporate Time for Candid Moments
Candid moments often become the most cherished photos, so build time into your timeline to capture them. Whether it’s the bride laughing with her bridesmaids or the groom sharing a quiet moment with his parents, these unscripted interactions add depth to the wedding story. Stay observant throughout the day and use a zoom lens to capture these moments discreetly without interrupting the flow.
- Schedule Time for Detail Shots
Wedding detail shots, such as the wedding ring photos, bouquet, and decor, are essential for telling the story of the day. Allocate 15-20 minutes to focus on these elements, ideally during quieter moments like the getting-ready phase or before the ceremony. Use a macro lens for intricate details and experiment with creative compositions to elevate your portfolio.
- Plan for Ceremony Coverage
The ceremony is the heart of the wedding day, so ensure your timeline allows for comprehensive coverage. Arrive early to capture the venue setup, guest arrivals, and the wedding party’s entrance. Position yourself strategically to photograph key moments like the vows, ring exchange, and first kiss. Use a second shooter, if possible, to capture multiple angles and ensure no moment is missed.
- Coordinate with the Videographer
If a videographer is part of the vendor team, collaborate to ensure you’re not competing for the same angles. Discuss the timeline and key moments in advance to create a harmonious workflow. This partnership allows both teams to deliver high-quality content without interfering with each other’s work, enhancing the overall experience for the couple.
- Include a First Look with Parents
A first look with the couple’s parents is a touching moment that adds emotional depth to the wedding gallery. Allocate 10-15 minutes for this session, ideally after the couple’s first look or during the getting-ready phase. Choose a private, well-lit location to capture genuine reactions and heartfelt interactions.
- Plan for Sunset Photos
If the wedding timeline aligns with sunset, schedule a quick session to capture the couple in this golden light. Allocate 10-15 minutes and scout the best photo vantage points. Sunset photos add a romantic, cinematic quality to the gallery and are often among the couple’s favorites.
- Capture Reception Candids
The reception is filled with lively, unscripted moments that showcase the couple’s personality and their guests’ joy. Allocate time to roam the room and capture candid shots of guests dancing, laughing, and celebrating. Use a fast lens and high ISO settings to adapt to low-light conditions without compromising image quality.
- Document Key Reception Events
From the first dance to the cake cutting photos, the reception is packed with significant moments. Work with the planner to schedule these events in a way that allows you to capture them without feeling rushed. Use off-camera flash or continuous lighting to highlight the couple while maintaining the ambiance of the venue.
- Schedule Time for Night Portraits
Night portraits offer a dramatic and unique addition to the wedding gallery. Allocate 10-15 minutes after the reception begins to take the couple outside for these shots. Use creative lighting techniques, such as backlighting or sparklers, to create stunning, memorable images that stand out.
- Prepare for Cultural or Religious Traditions
If the wedding includes cultural or religious traditions, discuss these with the couple during the consultation. Allocate time in the timeline to capture these moments authentically and respectfully. Understanding the significance of these traditions allows you to document them in a way that resonates with the couple and their families.
- Account for Guest Interaction Photos
Couples often value photos of themselves interacting with their guests. Allocate time during the reception to capture these moments, whether it’s the couple visiting tables or mingling on the dance floor. These images add a personal touch to the gallery and highlight the couple’s connections with their loved ones.
- Plan for a Second Shooter
If the wedding is large or spans multiple locations, consider hiring a second photographer. This allows you to cover simultaneous events, such as the bride and groom getting ready photos, or capture different angles during the ceremony. Coordinate with your second shooter to divide responsibilities and maximize coverage.
- Include a Buffer for Unexpected Moments
Weddings are unpredictable, so build a buffer into your timeline to accommodate unexpected moments. Whether it’s a wardrobe malfunction or a last-minute change in the schedule, having extra time ensures you can adapt without compromising your shot list. Communicate this flexibility to the couple and planner to manage expectations.
- End with a Post-Wedding Review
After the wedding, review the timeline and your notes to identify areas for improvement. Reflect on what worked well and what could be adjusted for future events. This practice helps you refine your process and ensures you’re continually delivering exceptional results for your clients.
Crafting the perfect wedding photography timeline is an art that combines meticulous planning, technical expertise, and adaptability. By following these 26 tips, you can ensure every moment of the wedding day is captured beautifully, from intimate getting-ready shots to the grand exit. A well-structured timeline not only enhances your workflow but also elevates the client experience, allowing you to deliver a gallery that tells a seamless, heartfelt story. Remember, flexibility and communication are key to navigating the unpredictable nature of weddings. With these strategies, you’ll be equipped to create timeless memories while maintaining professionalism and creative excellence.