Water is probably one of the most beautiful and versatile photography subjects. From a dramatic waterfall to a pristine lake to a vast ocean and winding rivers, stunning water photographs have always piqued the interest of photographers from around the world for their unpredictability and scenic beauty. Water can be the point of interest in your photographs or even an element of your photography composition. Incorporating water can be the instant way to create drama, interest, and depth in any photography session. Imagine capturing a couple’s portrait in front of a thundering and cascading waterfall or a simple portrait of a puddle created by rainwater. Aren’t both instances magical and dreamy? Whether it’s the stillness of the reflection of a lake or the dramatic movement of a cascading waterfall, water scenery photographs can open up the potential for some truly spectacular portraits.
Tips To Click Water-Themed Photographs:
Capture Movement
First, consider the message you want to convey and how to include that element in the shot. It might only require selecting the appropriate shutter speed. When showing the movements of an ocean, crashing waves benefit from a fast shutter speed because it effectively freezes motion. Your camera may occasionally warn you that you are getting insufficient light when using faster shutter speeds; this is when adjusting your ISO can be helpful. Timing is essential for stunning shots when using shutter speeds of 1/500th and higher. Long exposures are used for captures on the other side of the fast shutter. Slowing down your shutter speed gives you that cool effect if you want to show more motion or get that silken look. Aim for exposures between 0.5 and 10 seconds, which requires your camera to be completely motionless. If you always shoot without a tripod, maybe it’s time to change in this scenario. Although dawn and dusk are excellent times for long exposures, if you have a neutral density filter, you don’t have to stick to these times of the day.
Mirroring Reflection
The water body is your natural mirror! Find reflections and categorize them. Is the reflection improving or detracting from your photo? If that happens, either move a little to avoid reflections or go back to where you were when the sun was at a different angle. You can get nice contrast and some of the reflections removed with the aid of a polarizing filter. Where the water is calm and still, reflections are frequently used to enhance photographs. Since they add texture and effect, ripples can also be interesting. Additionally, abstract reflections, like cityscape lights during night photography sessions, look fantastic in moving water. Depending on the subject you want to portray, you can choose a symmetrical composition or not when using reflections. The options are endless; you could even just photograph the water’s reflection rather than the actual subject.
Use Filters
The use of a polarizer was previously mentioned, but it deserves further review because it is a very helpful tool to have when taking pictures of water on location. A polarizer is very useful for eliminating glare in addition to removing reflections. It aids in bringing out any color details in the water and what is below the surface by removing glare. Neutral Density filters are very helpful for taking long exposures during the day because they give you more exposure control. They accomplish this by preventing or restricting light from reaching your camera sensor, enabling you to use a larger aperture on your camera for a longer period of time.
Underexpose When Photographing Water
Your ideal outcome is to get the camera’s perfect exposure. However, if your subject is water, too many highlights may cause it to appear white, and it can be challenging to recover the details in sizable blown-out or clipped areas. It will be advantageous for you to underexpose by 1/3 to 1/2 a stop if water dominates your frame.
Go Out In The Water
It’s a photography viewpoint worth trying if you can enter the water safely with your tripod. When setting up on slick rocks, proceed with extra caution and pay attention to your surroundings. You are ready to try something new once you confirm that your equipment is insured. If you aren’t able to do this, consider using the zoom feature of your premiere photography camera lenses to get some close-up details. Spending some time experimenting with odd angles is worthwhile.
Picking The Perfect Scene
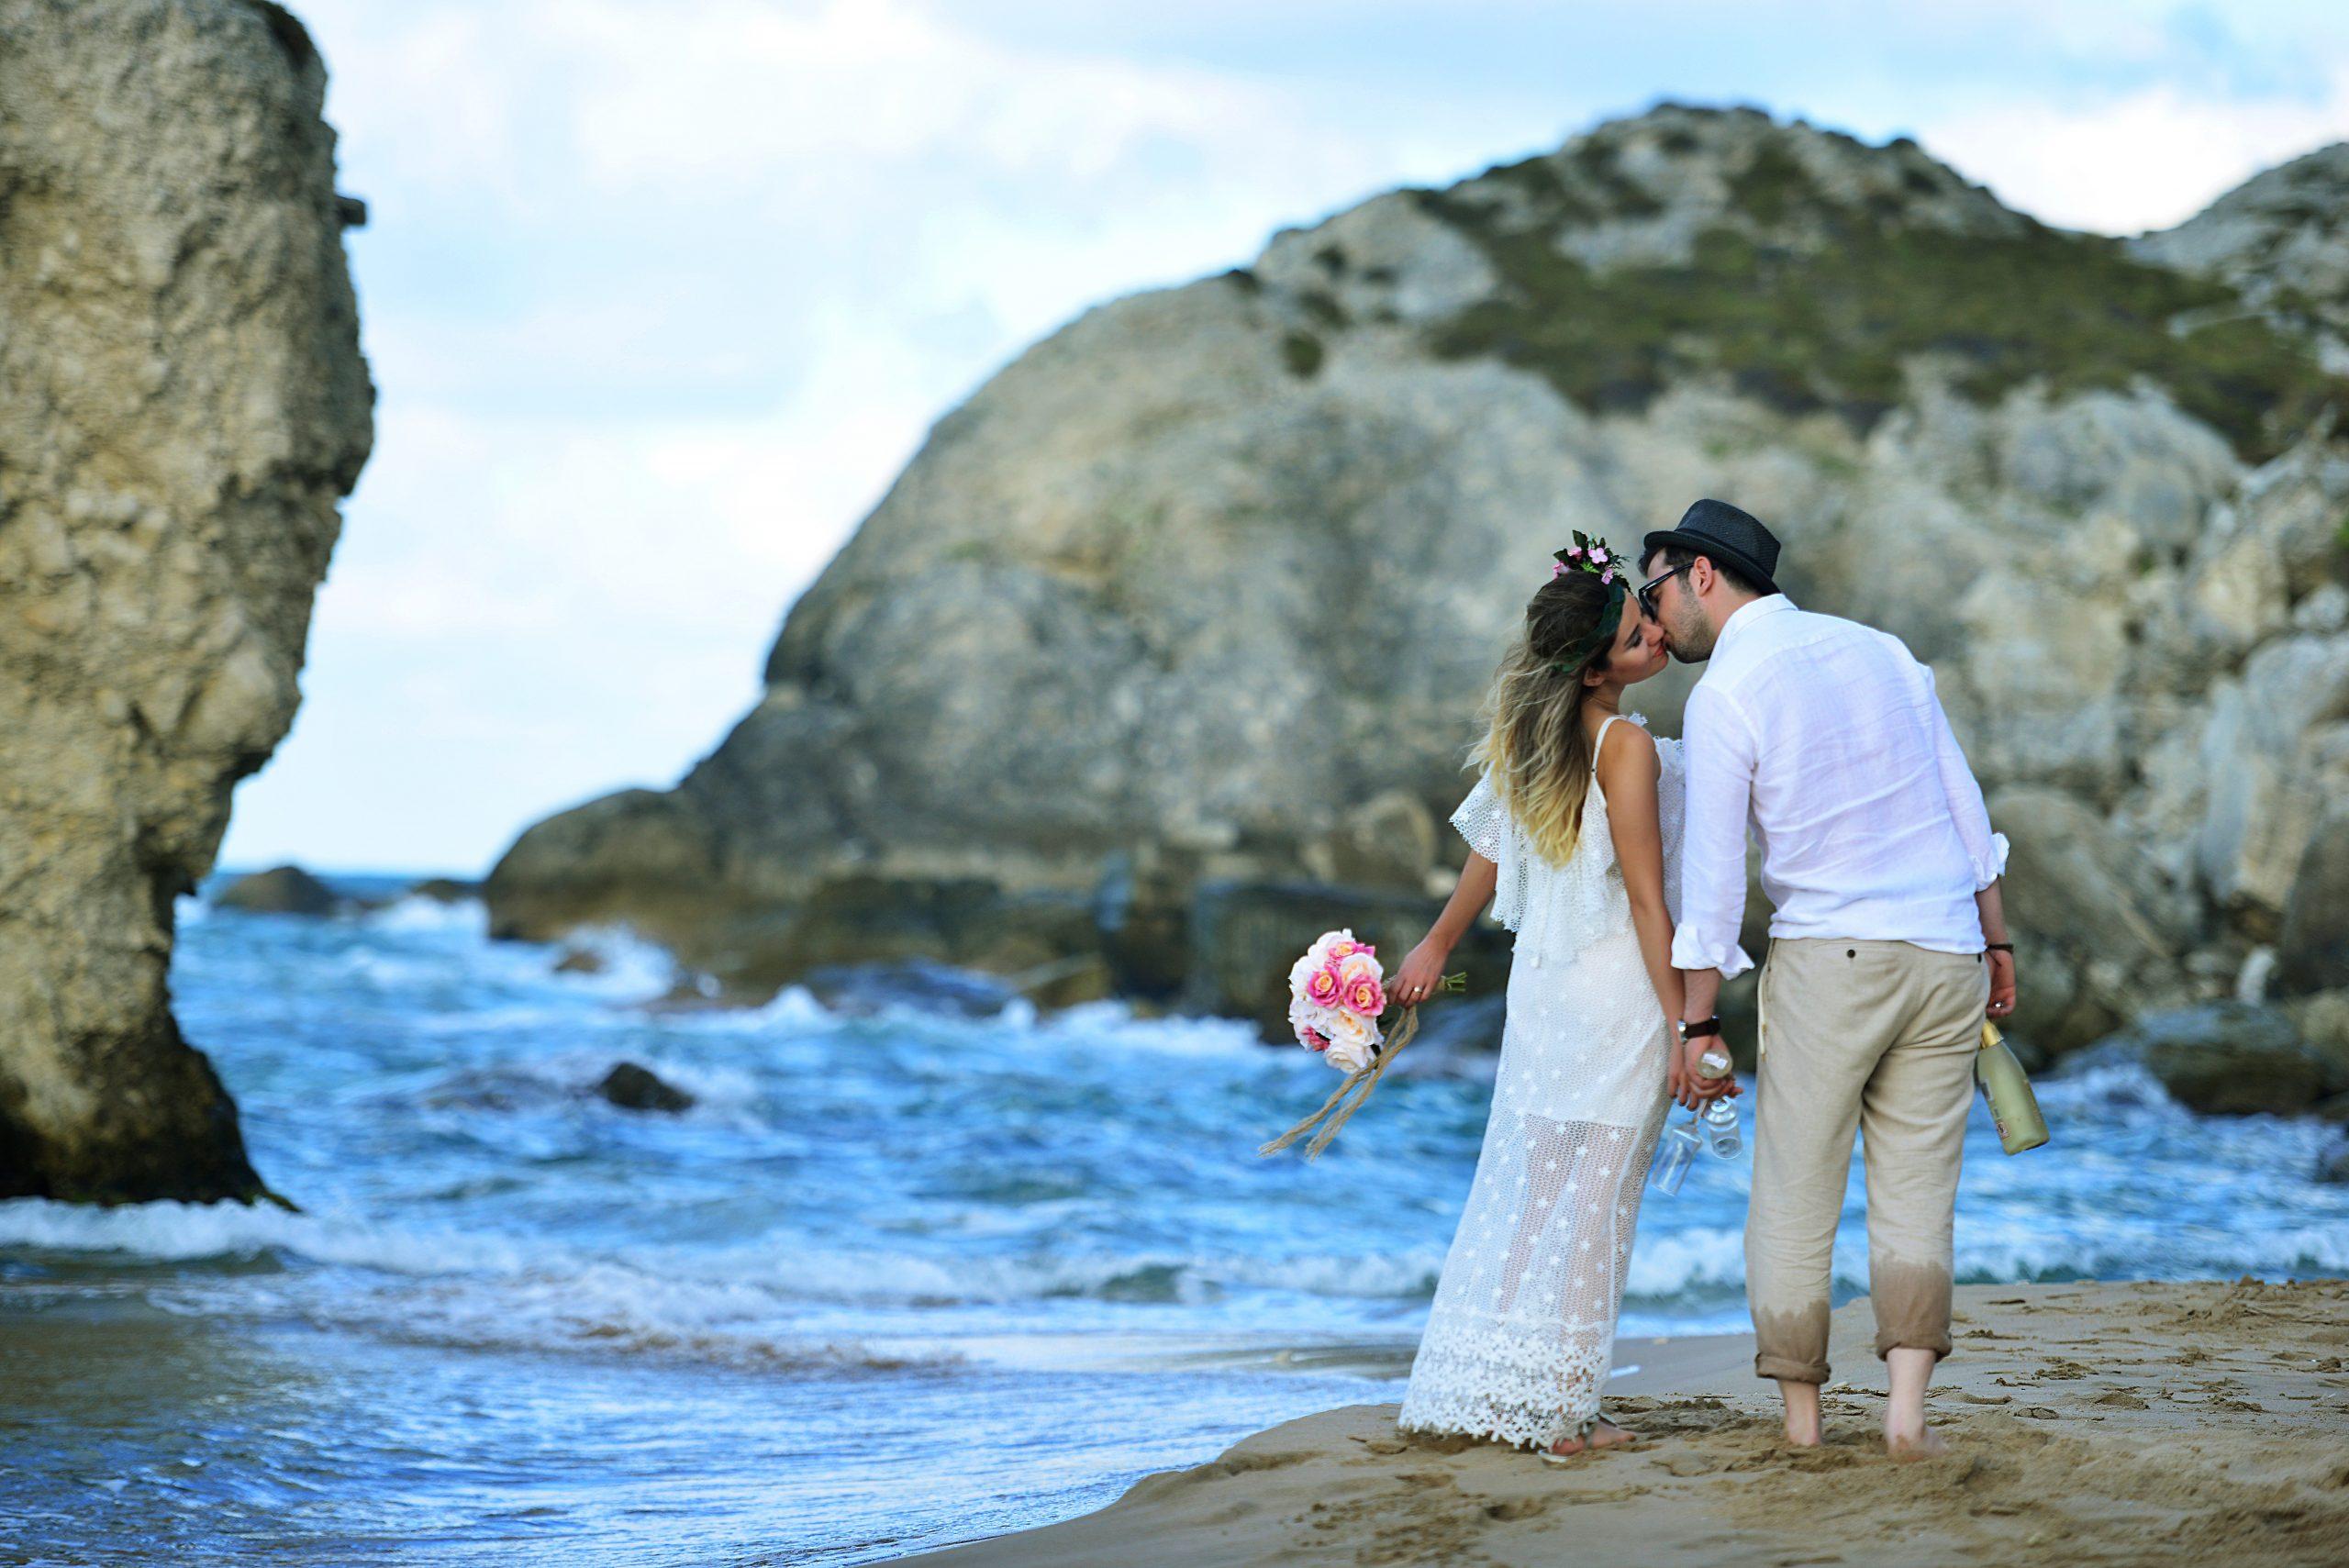
As a photographer, you would already know the importance of scouting locations for a photoshoot. It’s important to go out and look for prospects before setting out to shoot; the potential value of the scenery can attract and motivate you to wake up early. A swaying boat or a lakefront condo are just two examples of objects you can photograph. For a striking photograph, place the water body in the background and use those objects as the foreground. If there is no nearby scenery that can be used as a foreground, try setting up a subject in front of the water body so that they are facing away from the camera. This gives you something to concentrate on and aids in depth perception.
Creating The Feeling Of Being One With The Water
Try getting out on the water body to get a different perspective in place of the standard shot, which is taken while standing on the shore. As a result of the various perspectives, the viewer will feel as though they are actually there. With your boat in the foreground of the shot, you can give viewers a sense of the size of the water body by using a first-person perspective. It should be remembered that shorelines and beaches can make for beautiful scenes when photographed. Spectacular things poking up into the clouds or reflecting off the still water can be an additional point of interest.
Pay Attention To The Size Of The Water Body
Keep in mind that your mobility cannot always be restricted when you are a photographer. To demonstrate the size of the water body, step back from the shoreline. In order to capture reflections in puddles when traversing icy lakes, one must take a low stance, use an ultra-wide angle lens, and position the puddle in the center of the screen while keeping an eye out for areas that have not yet completely frozen over.
Look For Focal Points
There are many photography composition rules. When photographing water, you must carefully consider your composition if you want to take stunning water photos. In other words, take a moment to consider what is in your frame and how it is positioned before pressing the shutter button. Though the photography composition is a complex subject, the fundamental guidance is straightforward: Include a captivating focal point that serves as a compositional anchor and draws the eye. Anything eye-catching, from boats on the horizon to people splashing in the water to a massive wave, can serve as a focal point. You can frequently approach the water’s edge and then completely turn to see what is in your field of view; this will allow you to see bright umbrellas, lifeguard stations, intriguing structures, and much more. Also, keep in mind that a focal point doesn’t have to be large; even small compositions can have them, like a pattern in the sand, a group of footprints, or a crab on a rock. Once you have identified a focal point, give careful thought to where you want to place it in the frame. Unlike the rule of thirds composition rule, a central composition, in which the subject is directly in the center of the frame, frequently appears uninteresting and static. Your photo will appear much more dynamic if you can position the point of interest off to one side with your camera.
Head To The Beach During The Golden Hours
Some of the very best times for beach photography are during the “golden hours,” or the hour or two right after sunrise and the hour or two right before sunset. For starters, there are fewer people around at this time of day, so you can take many pictures of the beach without any distracting sunbathers or swimmers in them. The low sun covers the beach in lovely warm colors during the golden hours, and it also casts intriguing shadows. Naturally, if you take your camera outside in the late afternoon, stay until the sun sets. You might even stay for the hour following dusk when the sky turns a beautiful blue.
Head To The Beach When The Weather Is Bad
Rainy days make the best photography props. Agree? Similarly, beaches are beautiful on sunny days, but did you know that you can capture some of the most beautiful atmospheric photos when the sky is stormy and dark? Of course, we love taking photos on a sunny day at the beach, but when you take a look at a beach photo when the weather is stormy, even the sunset and choppy waves can create a dreary atmosphere. Naturally, you must take precautions to stay safe. If it begins to rain, make sure to cover your camera with a waterproof cover. However, if you are willing to leave when everyone else stays inside, there are frequently fantastic photographic opportunities! By the way, taking moody photos doesn’t require stormy weather. You could also go outside in the snow or even the fog, both of which would look amazing in a minimalist beach composition.
Bracket Your Exposures
The brightness presents one of the biggest difficulties for beach photography. With the sun beating down and the sand reflecting light everywhere, images frequently lose detail in the highlights or shadows. Beaches are actually one of those locations where camera Auto modes act erratically; in an effort to make the sand a neutral gray color, they underexpose your entire shot. Our suggestion would be to switch to Manual or Aperture Priority mode on your camera, both of which let you adjust exposure to correct any problems. Simply take a test shot, examine the image on your LCD, and adjust your camera’s settings as necessary. Anyway, we suggest that you bracket your exposures in addition to the previously mentioned advice. Alternatively, take several pictures of the same scene at marginally different exposure settings. In this manner, you will have one or two lovely backup shots in case one of your shots doesn’t turn out well.
Water is indeed an amazingly fascinating photography subject and there are many ways to incorporate and capture it. Near-water photography can help you to create breathtaking portraits and enhance your photographer portfolio. Whether it is the dreamy motion of long exposures or water reflection portraits, the above-mentioned tips can help you improve your water photography skills. Keep an eye out for photo opportunities to incorporate water into your compositions because it will help to bring your landscapes to life in a real way, whether you are photographing the motion of a waterfall or the sea or capturing a sharp, smooth reflection in a puddle.