As a photographer, you already know how important lighting is when it comes to your craft. But what about when you are working with a light source itself? We all love a good candlelit moment, and needless to say, candlelight photography is exactly what it sounds like, photographs taken by candlelight. It is moody, atmospheric, and a little unpredictable, and most photographers in the room instantly get excited when allowed to work with it. Great candlelight photography evokes emotions, is full of drama and enigma, and can help you take some of your most dreamy shots. It is also essential to know that candlelight photography is exactly what you make of it; a romantic or dream-like setting is just as easy to create as a scary or serious one.
Most candlelight photography is in portrait photography as it is easy to create drama with candles. As the warm light falls softly on the person’s face, you are given something magicalto work with. This type of lighting is perfect for a couple’s portrait photography, as candles are automatically romantic. In this type of light, we are accustomed to seeing great classical artworks, sculptures, or creating an atmospheric setting.
Here’s everything you need to know to get started:
- Disable your flash: Let’s begin with the most obvious and work backward. We’ve all used a flash in low-light circumstances and been frustrated by how it eliminates all ambient light in the photo. It’s critical to turn off your flash entirely if you want to capture the warm glow of candles. As the candle is already a source of light, the flash will counteract that. Of course, there is an exception to this rule, as is the case with every rule.
- Make Use of a Tripod: Shooting by candlelight means shooting with very little light, which means you’ll probably be using slower shutter speeds, enhancing the influence of camera shake on your images. Using a tripod and considering a remote shutter release to eliminate any vibrations from hitting the shutter, you can ensure that your camera is as safe and as steady as possible during shoots.
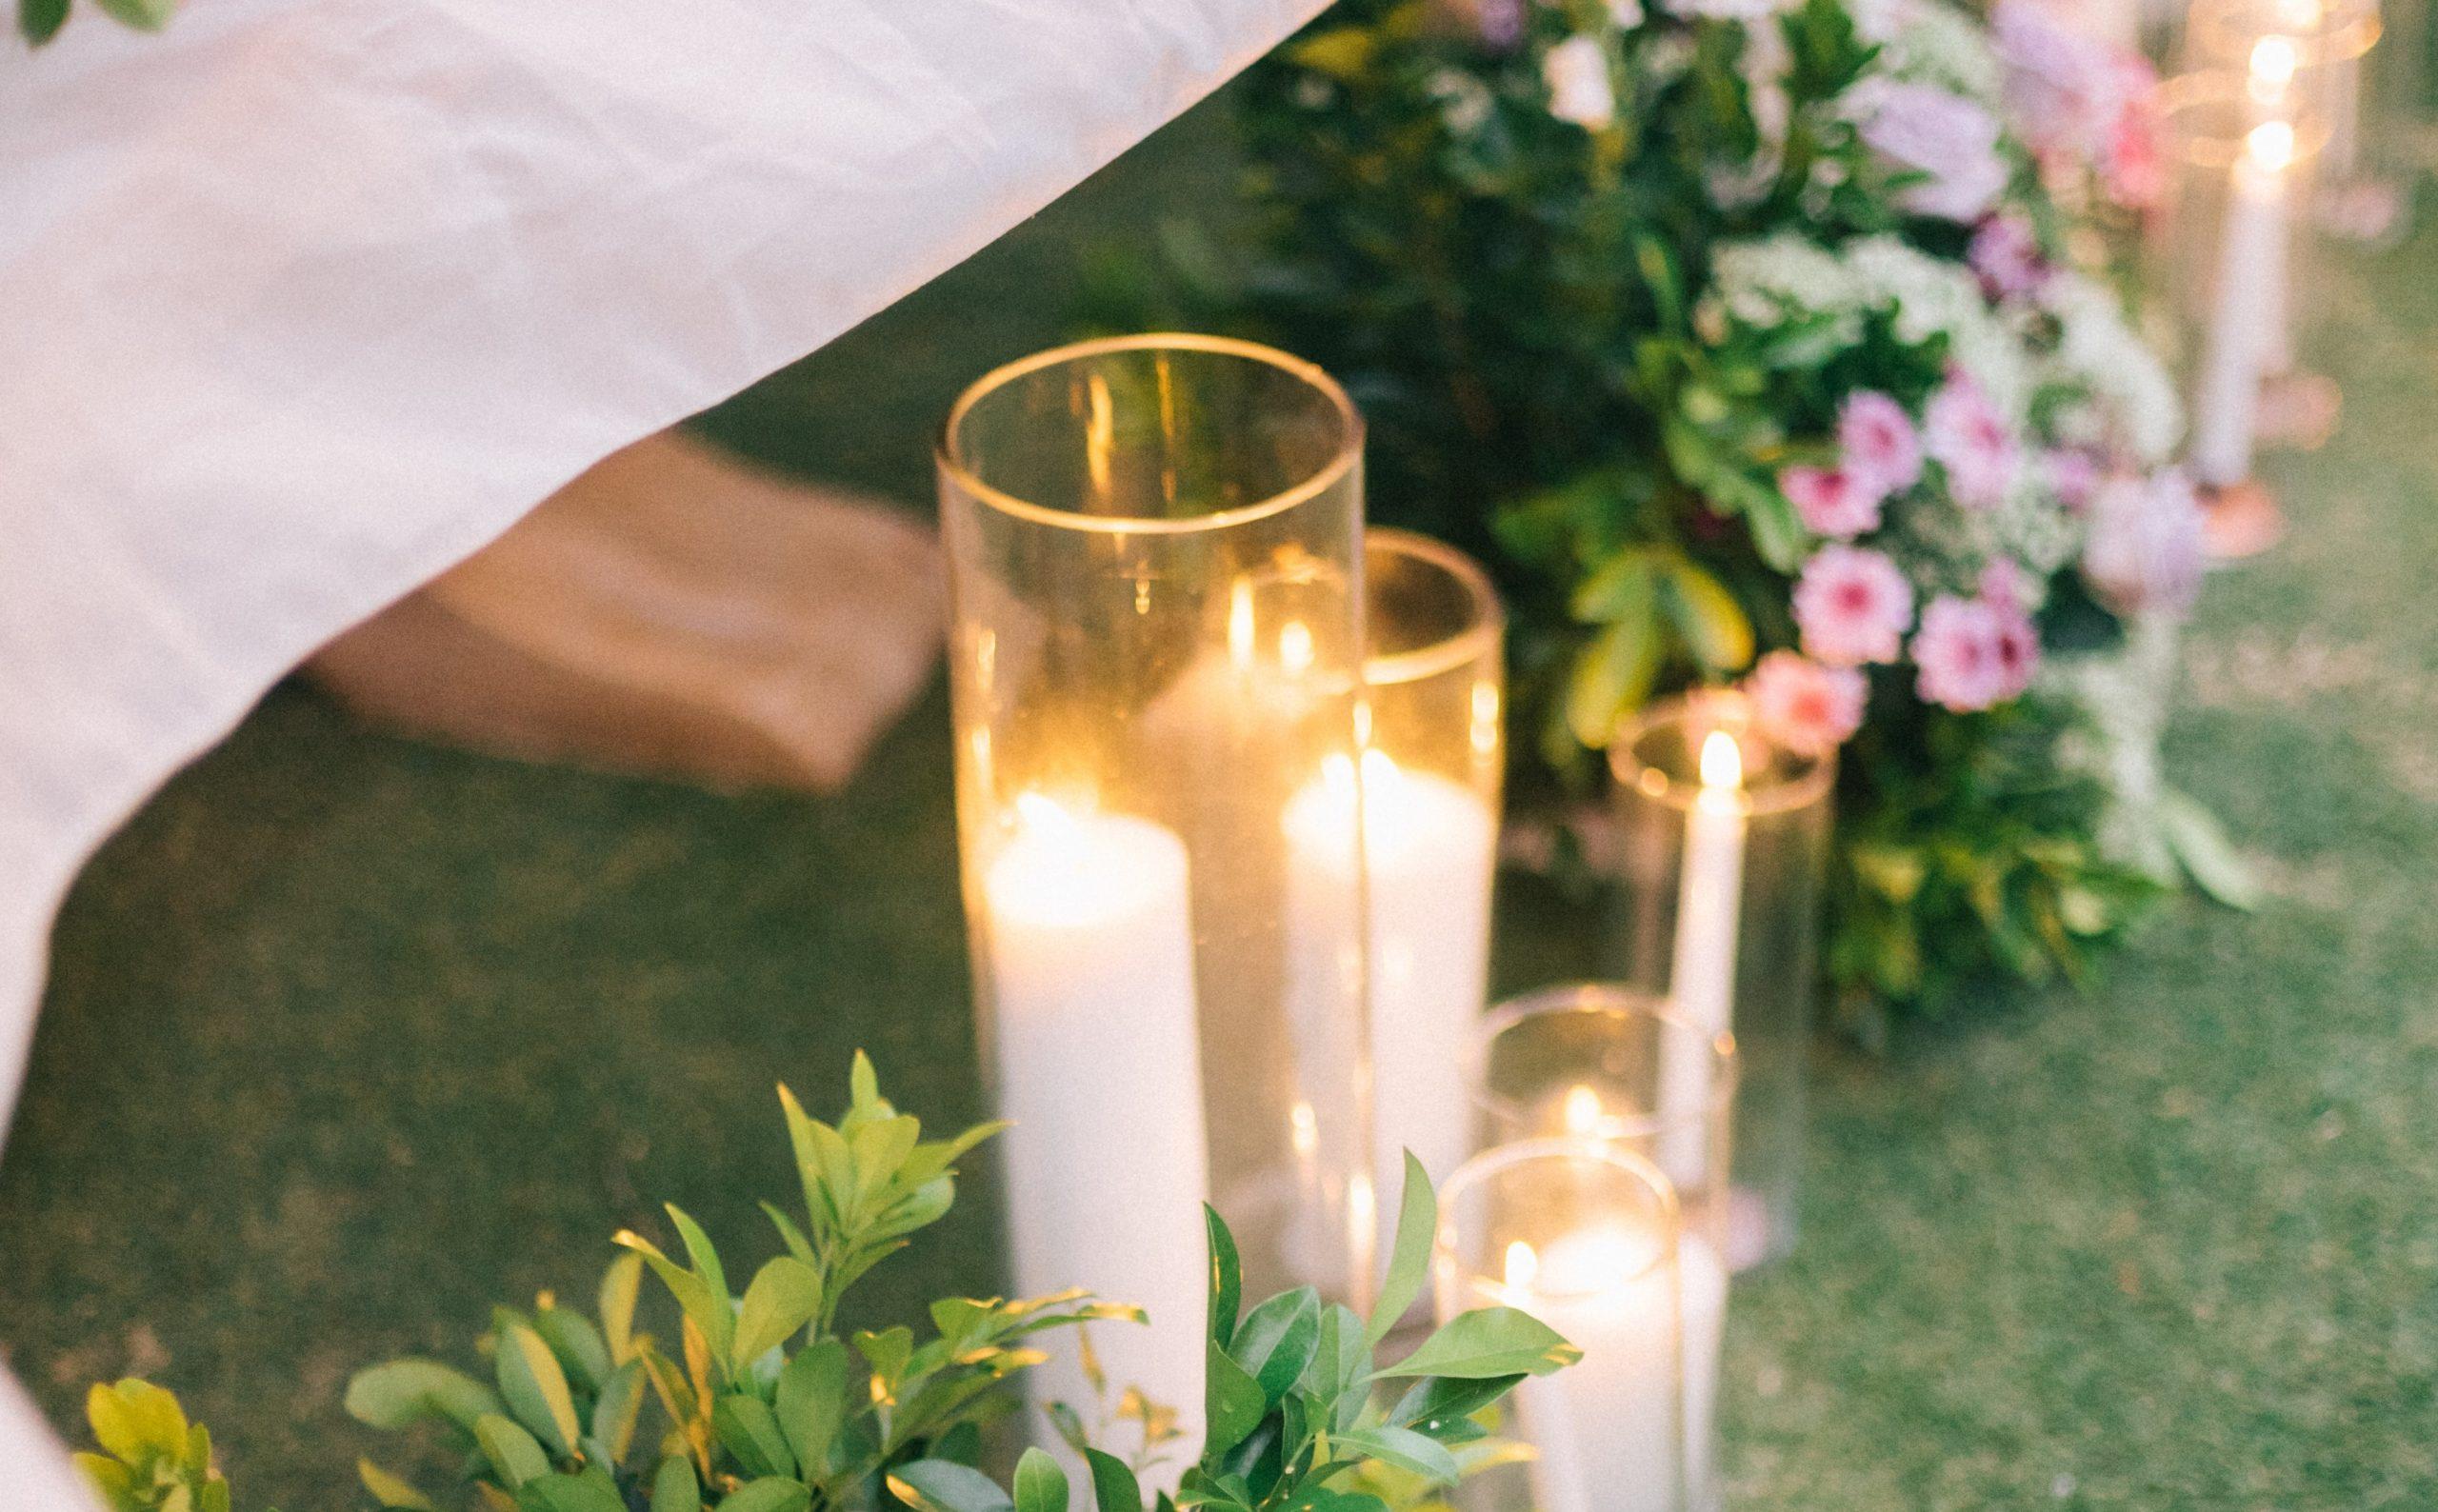
- Additional Candles: No photographer wants to work with low or limited lighting. The lack of light you have to work with is the most challenging aspect of candlelight photography. Hopefully, you’ll have extra candles on hand in case one burns out. However, it is not the primary reason for additional candles. If you want to include a backdrop scene in your photograph, you’ll need to consider how you’ll light it. If you’re going to employ any external lighting, pay attention to the sort of light that enters the frame. This light could be a different color than the candlelight you’ve made, ruining the lovely glow you’ve created. Extra candles can be used to light the background environment. Consider how to conceal the candles if the flames create undesirable highlights. To lighten the room, remove the candlelight from the frame. Using more candles produces more light, giving you a little more leeway regarding shutter speed, ISO, and aperture settings.
- Arrange the Candles: If you use a single candle or place many candles together in one spot, the shadows on your subject’s face will be harsher. This may be the effect you’re going for, but in most circumstances, even dispersion of light across their face is preferable. Simply spread the candles out a little to obtain this effect. We suggest placing more candles on one side than the other to produce a lovely side lighting effect; however, don’t make the sides too uneven unless you want a dramatic effect.
- Reflectors in nature: Photographing by candlelight is by default a light negotiation. The more light you can regulate and put into your scenario, the better. Reflectors are an excellent technique to bring in this light. The subject can disappear into the shadows in low-light photography. You can see the light source is a single point. Passing light can be reflected onto the topic using reflectors. In low-light situations, this extra light might help highlight their outline. Find any white surface you can if you don’t have a reflector. Rooms with white walls will naturally bounce light. You might be left to your devices to find reflectors in the surrounding you work with, whether a white wall or a white table cloth. When you shoot by candlelight a few times, you will make unintentional findings that will prove helpful, whether that is a white shirt, the light-colored walls, or ceilings!
- Quick lenses: Choose the ‘fastest’ lens if you’re shooting with a DSLR and have various lenses. This will allow you to use a bigger aperture and let more light into your camera. One of the 50mm lenses (f/1.8 or f/1.4) would be a personal favorite choice for this type of photo. You will then shoot with the widest aperture available or near to it, which allows for a faster shutter speed and lower ISO. However, remember that the greater your aperture, the shallower your depth of field will be, and the focused you’ll need to be.
- Aperture and Zooms: When shooting with various zoom lenses, keep in mind that the maximum aperture varies depending on the focal length range. For example, shooting at the widest setting on many zooms will result in a bigger aperture than zooming in. As a result, moving in closer to your subject with a wider angle focal range rather than using the zoom may be preferable. Choose a lens that can help you generate enough light for your shot. A lens with a smaller numerical aperture will give you more light. A slower shutter speed is possible when there is more light. This straightforward solution can make a significant difference. When shooting candlelight photography, you essentially capture a subject falling in a patch of light around the darkness. Long lenses benefit from this setting far more than broad lenses. We recommend using a lens with a focal length of at least 50mm. Use a 50mm prime lens, which has an f/1.2 aperture. This aperture would allow you to employ a shallow depth of field, which would work well with soft light.
- Backgrounds and Context: When shooting in low light, it’s easy to overlook the sections of the frame that aren’t illuminated by the flame. You may conclude a session, submit the photos, and then discover a problem. An unfavorable angle or an out-of-place object that discreetly catches the light and ruins the photograph are examples of this problem. To avoid this, we recommend thoroughly inspecting the frame before beginning to picture. This extra step could save you a lot of heartache in the future.
Slow Shutter-speed:Slower shutter speeds are an evident approach to let more light into your camera. Keep in mind that when you slow down the shutter speed, the odds of capturing any movement, both of your subject, the flames of candles, and the movement of your camera. If the setting is perfectly calm and the subject is as still as possible, you can use a shutter speed as slow as 1/15th of a second – but any slower, and you’re asking too much of your subject.
- ISO Parameters: Increasing your camera’s ISO settings is another approach to adjust for low light situations. Of course, the cost of doing so is that the images will have more grain. If you can, keep your ISO below 400, and you should be able to produce reasonably clean photos. You’ll notice the noise if you go any higher, especially if you’re blowing up shots to huge sizes.
- White Balance: When photographing with candlelight, it’s worth experimenting with white balance. Candles give out a very ‘warm light, which you’ll want to include in your photographs because it creates a lovely ambiance. If your white balance is set to ‘auto,’ the camera may wish to remove the warmth. To achieve the correct level of warmth, experiment with different settings. Shooting in RAW, on the other hand, gives you much more versatility with white balance in post-production.
- Candles’ Composition: In terms of composition, there are two options for dealing with candles- whether to integrate them into the photo or leave them out of the frame. Both options can provide beautiful images, so try them both. If you’re using candles in your shot, keep in mind that they’ll not only affect the settings your camera wants to use, but they’ll also generate points of interest in your shot, potentially competing with your main subject. As a result, you’ll want to put your subject in the foreground and consider placing candles in a way that doesn’t overpower the scene. If you’re using candles in the frame, ensure they’re beautiful ones. In portraiture, more minor details matter, and unsightly candles could be a significant distraction.
- Meter the Light: Make sure you compute the light based on the subject itself while measuring it. Light or built-in light meters may easily read the light in various ways. Because the light meter latches onto the highlight provided by the flame, the meter measurement may be too dark. It is also possible for the opposite to occur. Because the light meter compensates for the dark background, the meter reading may be overly bright. In this circumstance, the best way to meter is to get the subject in place first. You can use trial and error if you’re shooting with a DSLR. Shutter speed and white balance can both be used to achieve this. Check the different settings needed for the critical elements in the shot if you’re shooting on film. Take separate readings for light on the face and details in the shadows, for example, if it’s a portrait.
- Using a Colored Gel with a Flash: As mentioned earlier, turning off your flash will assist you in achieving that warm glow from the candles instead of an intense flash blowing out the image. However, the only exception is applying a warm gel over their flash. This softens the flash’s effect and gives it a warm glow. If you have control over it, you could also want to reduce the flash’s output manually. Experiment with different color gels to achieve the desired color.
The Three Important Things To Consider In Candlelight Photography
There are three essential factors in candlelight photography that need to be considered, and if you manage to get these in order, you are one step closer to getting that perfect shot.
- Shaky Camera: Your shots will be shaky in candlelight photography, so try to get help, or try using a tripod or setting the camera on a firm surface, and using the built-in timer can eliminate this.
- Subject movements: The photo will appear smudged if things move when the shutter is open. Ensure the objects you’re capturing aren’t moving and that no one is blinking. The movement of the source of light itself is another cause of movement.
- Flickering: Although it is difficult to remove this phenomenon, while some flicker is really desirable for a pleasant candlelight effect, extreme flicker should be avoided. This can be accomplished by ensuring that there is no wind in the picture, that the candles are on solid surfaces, and that they have been lit for a long time and are burning evenly.
Working with a candle and capturing it is undoubtedly not the easiest thing in the world. You will essentially be working with a light source, and ironically, very little light other than that. However, with years of working with candles, you will soon find your way around it. The result, however, is usually jaw-dropping and mesmerizing, which is precisely why most clients want to go for candlelight photography in the first place. With these tips in your back pocket, your hands on the camera, and the magic of candlelight, you shall be able to pull off some fantastic low-light photography!