Bracketing is more than just a technique; it’s a strategy that can unlock incredible creative potential, especially in wedding photography where dynamic lighting is the norm rather than the exception. At its core, bracketing in photography involves capturing multiple shots of the same scene at different exposure levels, underexposed, properly exposed, and overexposed. These frames are then combined, either manually or through post-processing, to produce a single image with an unparalleled dynamic range. This allows you to preserve the intricate details in both highlights and shadows, striking a perfect balance that reflects the emotion and luminosity of the moment.
For seasoned wedding photographers like yourself, bracketing is particularly invaluable. Weddings are defined by fluctuating lighting conditions, like church interiors, bright outdoor ceremonies, and dimly lit receptions, all within a single day. Conventional exposure settings often fall short of capturing the full spectrum of light and shadow these environments present. Whether it’s preserving the golden glow of candlelit vows or the brilliant sunlight streaming over a celebration, bracketing ensures no detail is lost.
This blog takes a deep dive into 25 expert tips to incorporate bracketing seamlessly into your wedding photography workflow. From setting up your camera gear to processing bracketed images for a perfect finish, these practical techniques will help you push the boundaries of your craft. With these strategies, you’ll not only elevate the quality of your images but also provide your clients with timeless photographs that are as dynamic and vivid as their cherished memories. Get ready to refine your skills and take your wedding photography to new heights through the power of bracketing.
1. Use Auto Exposure Bracketing (AEB) for Efficiency
Take advantage of your camera’s Auto Exposure Bracketing (AEB) feature to streamline your workflow. Set your desired number of brackets (e.g., three or five) with ±2EV for scenes with high contrast like brightly lit windows or dimly lit receptions. AEB allows you to quickly capture multiple exposures in rapid succession, ensuring smooth results even when you’re working under time constraints at a busy wedding. For best outcomes, pair this feature with a tripod to maintain perfect framing.
2. Master Exposure Compensation Adjustments
For manual flexibility, adjust exposure compensation by shooting one image at 0 EV, one at -2 EV, and another at +2 EV. This approach allows you to protect highlights in sunny day photography or retain shadow details during amazing candlelight photography. Use Aperture Priority mode to lock in your depth of field while shifting shutter speeds or ISO for varied exposures. Familiarity with dynamic light scenarios will make exposure adjustments second nature.
3. Stabilize with a Tripod for Consistency
A tripod is essential for consistent framing, especially when bracketing shots with multiple exposures. For great indoor photography with slower shutter speeds or intricate compositions in venues with mixed lighting, a stable base prevents misalignment. Use a remote shutter release or a camera timer to avoid micro-vibrations, ensuring all frames are perfectly aligned for seamless merging in post-production.
4. Shoot in RAW for Maximum Flexibility
Always shoot bracketed exposures in RAW format to preserve the maximum detail in highlights and shadows. RAW files give you enhanced flexibility in editing, allowing smoother adjustments for dynamic range blending. This is invaluable during post-processing when merging exposures to retrieve shadow details from church interiors or save highlight details in wedding dresses under harsh sunlight.
5. Fine-Tune Your Shutter Speed
When bracketing manually, prioritize adjusting the shutter speed for exposure variations during static ceremony moments. Keep aperture and ISO consistent to maintain depth of field and minimize noise. This ensures each frame captures different lighting values without introducing inconsistencies in sharpness or tonal range, crucial for blending ambient and artificial light sources at reception.
6. Use Bracketing to Balance Mixed Lighting
Wedding venues often feature challenging mixed lighting conditions. Use bracketing to capture frames that expose the highlights, mid-tones, and shadows separately. For instance, balance vivid sunlight pouring through windows with dim interior lighting by blending exposures in post. This ensures no detail is sacrificed in environments with drastic light contrasts.
7. Set Custom Bracketing Intervals
Customize your bracketing intervals based on the scene’s dynamic range intensity. For high-contrast moments, like the couple silhouetted against a sunset, use wider EV gaps (e.g., ±3 EV). For evenly lit scenes, narrower gaps (e.g., ±1 EV) suffice. Tailoring your bracketing intervals ensures you cover the necessary range without capturing unnecessary frames that complicate post-editing.
8. Handhold Bracketing When Necessary
While tripod use is ideal, handholding your camera can work in well-lit scenarios or fast-paced moments like wedding exit photography. Increase your shutter speed to reduce motion blur and enable image stabilization if your gear supports it. Handheld bracketing is excellent for energetic, mobile shots while still capturing adequate exposures for later blending.
9. Leverage Your Histogram for Accuracy
Use your camera’s histogram during bracketing to verify proper exposure coverage. Before shooting, meter for highlights and shadows to ensure no clipping is present in any shot. This accuracy guarantees your bracketed images retain full tonal detail, which is crucial for capturing moments like carefully lit first dances or finely decorated ceremony spaces.
10. Use Intelligent Post-Processing Merging
After capturing your bracketed shots, blend them meticulously using HDR software or manual layer masking in Photoshop. Focus on maintaining natural textures and avoiding over-processing. Highlight the couple’s expressions in bright outdoor photos or intricate details of their attire during challenging low-light scenarios. Intelligent merging will help balance dynamic range while keeping the images looking authentic and emotive.
11. Optimize Aperture Settings for Depth Consistency
Maintain a consistent aperture while bracketing to ensure uniform depth of field across all frames. This is especially crucial when capturing group portraits or intricate decor setups with multi-layered compositions. Adjust exposure by shifting ISO or shutter speed instead. This technique preserves sharpness and detail, allowing seamless blending in post-processing without introducing variations in focus that could distract from the final image’s harmony.
12. Bracket Before Golden Hour Fades
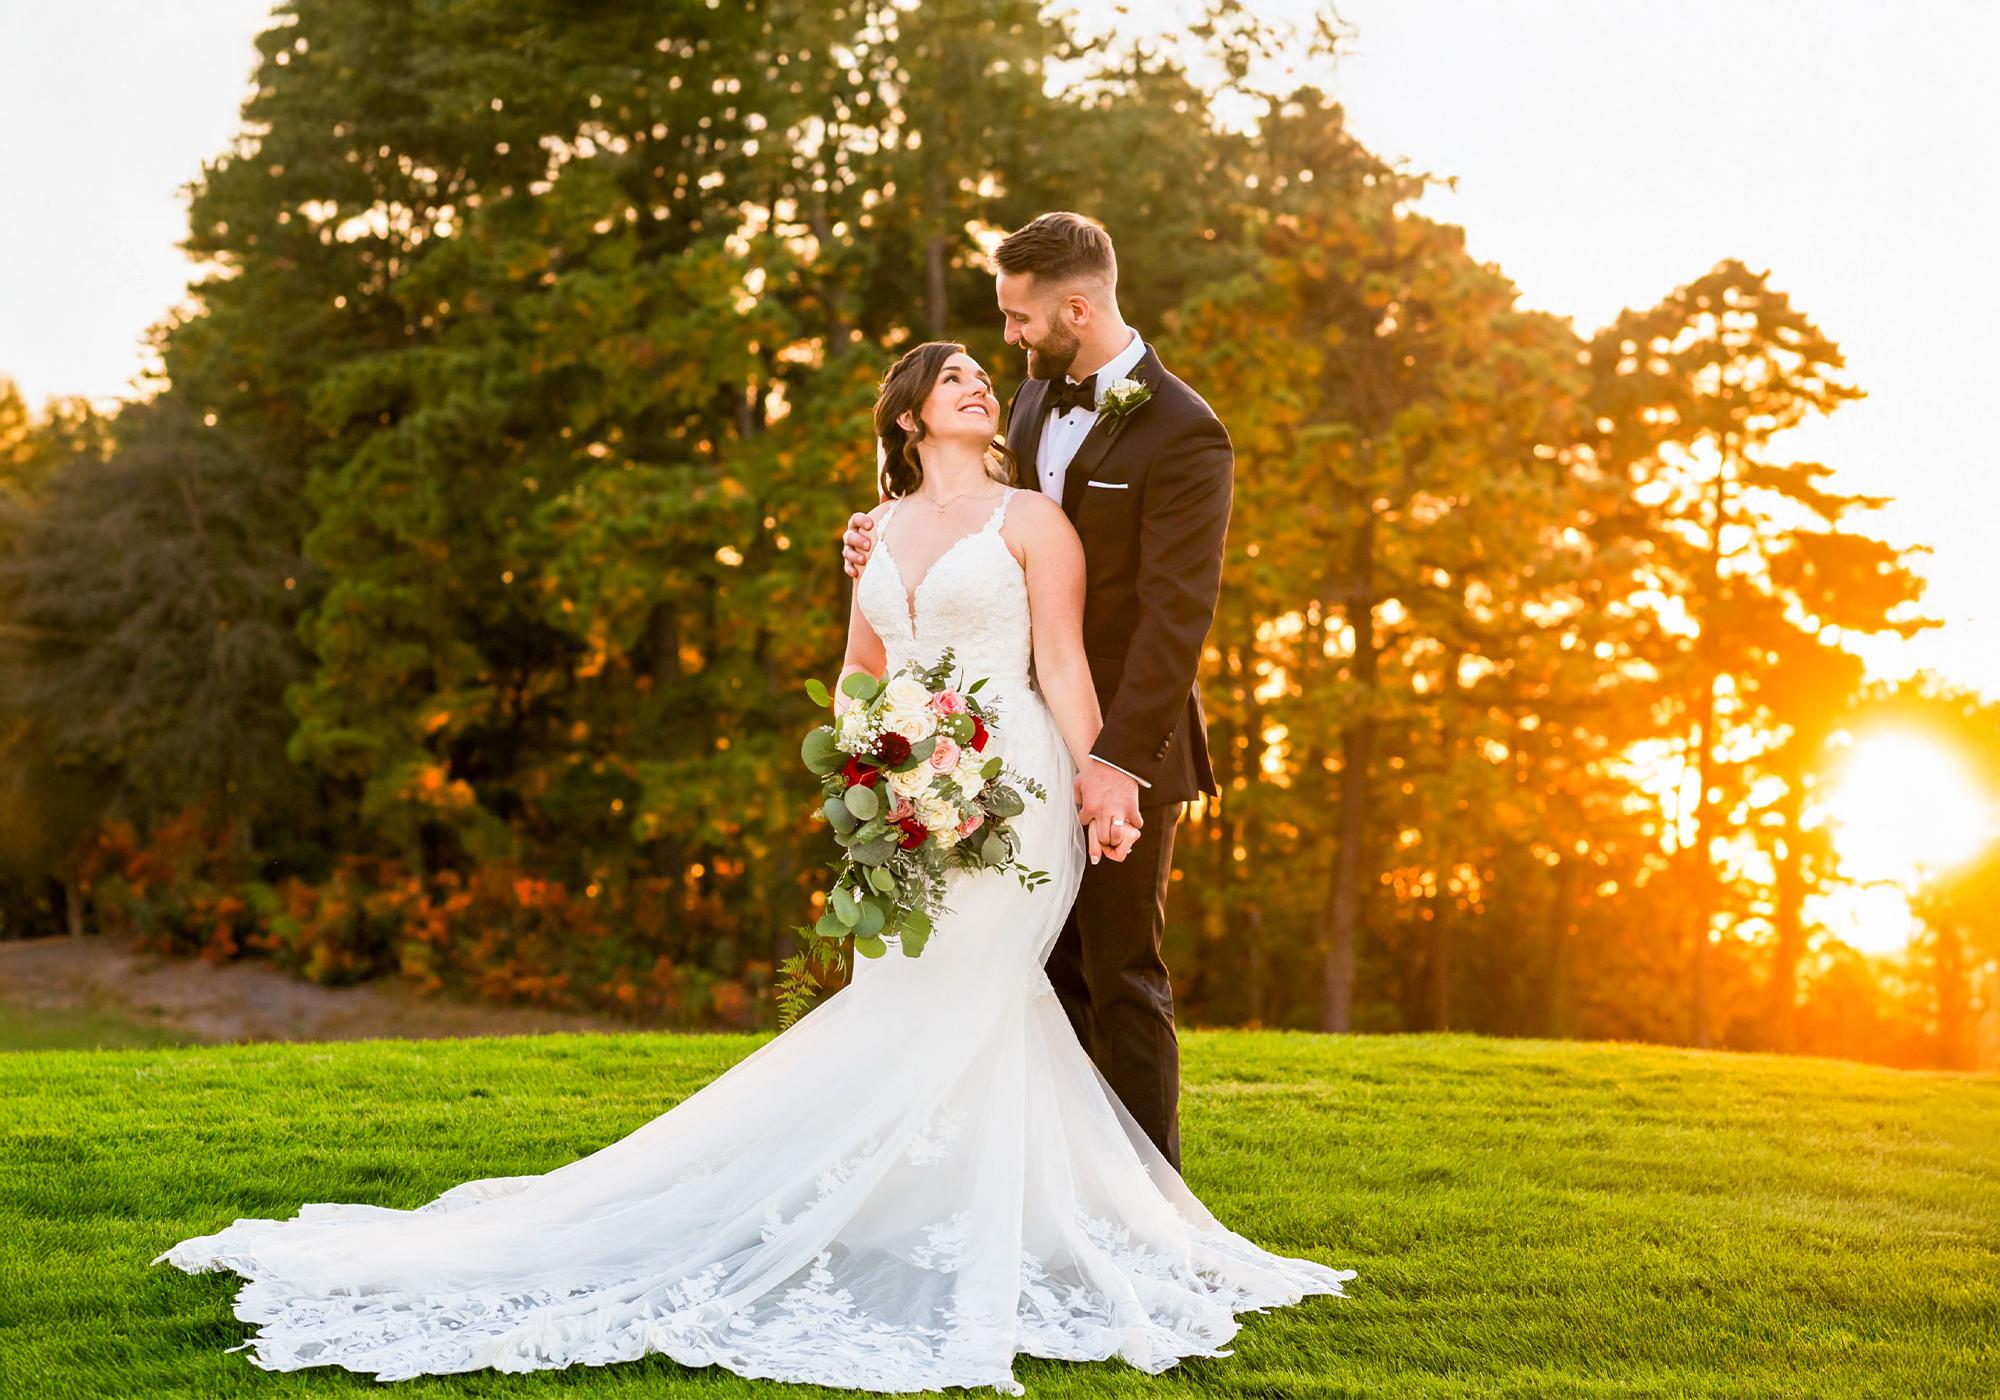
Outdoor wedding shoots often rely on fleeting golden-hour lighting. Use bracketing to capture variations in exposure as the sunlight shifts. Take shots that expose the couple’s silhouettes, the scene’s ambient light, and the golden hues. This approach ensures you have multiple options to blend subtle tones, recreating the romantic quality of golden hour, even after editing under changing natural light conditions.
13. Handle High-Contrast Landscapes with Graduated Filters
Seamlessly combine bracketing with graduated neutral density filters for outdoor wedding landscapes featuring high-contrast skies and darker foregrounds. Capture bracketed shots with varying exposures for the ground and the sky. Later, merge them to bring out the details in both planes while preserving the natural feel of the scene, perfect for expansive ceremony backdrops or dramatic landscape portraits.
14. Utilize Focus Bracketing for Depth Precision
When working with compositions that require extensive depth of field, combine focus bracketing with exposure bracketing. For example, capture couples amidst blooming floral arrangements or long reception tables, varying the focus points alongside exposure levels. This blended technique creates exquisite, wedding-detailed shots where every element stands out crisply, offering unmatched clarity.
15. Auto-Align Shots in Post for Hassle-Free Edits
When shooting handheld or during fast-paced scenes, ensure overlapping frames are corrected by using automatic alignment in post-processing. Software like Lightroom or Photoshop auto-aligns misaligned frames caused by minor movements. This is particularly effective for bracketed shots of moving moments like the aisle walk or laughter-filled couple’s toast.
16. Test Shallow Intervals for Subtle Scenes
For evenly lit environments, such as softly lit bridal suites or controlled indoor setups, use shallow bracketing intervals (e.g., ±1EV). This avoids unnecessary exposure variance and ensures each tone feels continuous. Subtle bracketing captures the room’s ambiance accurately, maintaining the mood without excessive editing later.
17. Adapt Bracketing for Spotlit Subjects
Use selective metering and targeted bracketing adjustments for spotlight-focused wedding scenes, such as spotlight dances or vow exchanges under soft beams. Capture separate frames to expose the illuminated subject and the darker background. These exposures can be blended to highlight the subject while retaining the mood’s depth.
18. Overexpose Details in White Attire
Use one frame in your bracketing sequence to slightly overexpose for white wedding dresses without sacrificing texture detail. This avoids harsh contrasts in bright sunlight. By merging this overexposed shot with darker complementary frames, you achieve balanced tones that showcase the dress’s intricate patterns.
19. Experiment with White Balance Bracketing
For venues with tricky lighting, bracket shots vary the white balance settings. This ensures color consistency when juggling differing tones, like between warm tungsten-lit altars and cooler natural daylight streaming through windows. Merge shots for a polished result where no hues feel mismatched or unrealistic.
20. Incorporate Flash for Creative Exposure Variants
Blend natural and artificial lighting by including a flash exposure in your bracketed sequence. Fire low-power flash for one frame while capturing ambient light in others. This technique works wonderfully with dim reception lighting, giving you options to enhance a scene’s drama while retaining natural shadows and highlights.
21. Meter for Highlights to Retain Vital Details
Before starting your bracketing sequence, spot meter for the brightest area in the scene, such as outdoor sunlit backgrounds or reflective surfaces like white tablecloths. Ensure that highlights are not blown out in any of the bracketed shots. This guarantees the details within the brightest portions of the image are preserved during post-processing, creating a balanced final composition where no area appears overly harsh or clipped.
22. Avoid Ghosting with Fast Shutter Speeds
For moving elements in wedding scenes, such as dancing couples or confetti tosses, bracket using fast shutter speeds. Quick exposures minimize the risk of ghosting during image blending, where misaligned or transient subjects can disrupt the final photo. This method ensures a natural flow in dynamic sequences while enabling you to retain consistent exposure control across all frames.
23. Prep Pre-Shoot Bracketing Tests
Before the wedding day, test your desired bracketing settings under comparable lighting conditions. If you’re shooting an outdoor evening wedding photo session, replicate the low-light dynamic or highlight-intensive setups during rehearsals or location visits. Testing prepares you for potential challenges, enabling smooth adjustments on the big day without wasting vital time recalibrating.
24. Combine Bracketing with Panorama Techniques
For breathtaking wide-angle shots, such as the reception venue or expansive landscapes, combine bracketing with panoramic stitching. Capture bracketed exposures for each segment of the panorama and merge them later to balance the dynamic range across the entire composite image. This approach retains tonal consistency and detail from corner to corner.
25. Use Graduated Settings for Increased Control
When manually bracketing for extremely high-contrast settings, graduate exposure increments strategically. For instance, use smaller shifts like ±0.5EV for mid-tones and wider gaps like ±2EV for extreme highlights or shadows. This tailored bracketing approach lets you capture subtle gradients and extreme contrasts, allowing for more nuanced merging during post-production.
Mastering bracketing in wedding photography is a game changer, enabling you to tackle the most dynamic lighting conditions with confidence. By using techniques like Auto Exposure Bracketing, adjusting for precise intervals, and stabilizing with tripods, you ensure every frame captures vital details, from radiant highlights in outdoor ceremonies to intricate textures in dimly lit receptions. Complementing bracketing with focus adjustments, white balance shifts, or even creative flash exposures amplifies your flexibility.
Post-processing further enhances your artistry, allowing seamless blending to craft images with perfect tonal balance and unmatched dynamic range. Whether you’re photographing fast-paced moments or serene portraits, bracketing equips you to deliver highly detailed, emotionally compelling visuals. By adopting these advanced strategies, you elevate your craft to new heights, refining your skills and expanding your creative potential. These techniques allow you to push the boundaries of what’s possible, turning even the most challenging lighting scenarios into opportunities for extraordinary storytelling.
Techniques like bracketing allow you to capture a wider range of exposures, ensuring no detail is lost in shadows or highlights. You’re not just capturing fleeting moments; you’re creating vivid, timeless memories that evoke deep emotions and resonate with your clients for years to come, showcasing your expertise and dedication to perfection.