Have you seen those photographs which look like they are bright, airy, and ethereal, the kind of pictures that look like they emit light and glow from within? If you have and have always wanted to perfect your technique for creating more of such images, you have just stumbled on the right blog. As a professional photographer, you will potentially be working with many different photography styles, but with wedding photography, this particular photography style seems to be a favorite! In addition to wedding photography, this photography style seems to work well with engagement, maternity, newborn, and family photography. As people often associate the bright and airy vibes with the feeling of happiness, this style works well to infuse such emotions into the photographs.
Technically, bright and airy photography generally administers low contrast and flattering lighting to soften the harsh lines and minimize the appearance of shadows. This leads to more flattering pictures and works especially well for close-ups or headshots, as this photography style hides blemishes quite well. When it comes to colors, bright and airy photography usually features lighter and neutral color tones with some instances of bright pops of colors. There are several elements that come together to create the perfect bright and airy photography, and we will talk about them in more detail below!
Prep the Gears
You don’t need a particular camera to take excellent pictures of light and airy photography. Light and airy pictures are masterfully produced by photographers and great outcomes can also be attained using a smartphone, especially with a little post-production work. However, utilizing adequate equipment might streamline your process and provide you with greater editing options. Some of the photography gear you should have for those bright and airy photographs are listed below!
- Camera Body: Any more recent mirrorless models from Canon, Nikon, or Sony would be the best equipment for taking bright and airy pictures. Other manufacturers also produce some excellent camera bodies. While there are many excellent options but may not be within the budget of all photographers. Use the camera you have on hand for this kind of portraiture; ideally, it should support RAW file capture.
- Lenses: The lens is possibly more significant than the camera body. If your only option is a smartphone camera, you can still take pictures, but it’s best to use a prime lens with a large aperture. Utilizing a prime lens will let you take clear pictures at wider apertures, which will then result in a shallow depth of field and assist you to distinguish your subject from a softer background. However, if you don’t have access to a prime lens, you can also get closer to your subject while putting more distance between them and the background.
Lighting and Modifiers
- Reflectors: For photographs that are light and airy, many photographers only use natural light, which is fine. Most of the time, natural light will be plenty as long as you pick an appropriate time and position. A 5-in-1 reflector should be sufficient for all your light-modifying needs while dealing with natural light. However, occasionally you can discover that the lighting isn’t the best, or you might run out of time and the sun will set. In those situations, having a small amount of flash power on hand can help you replicate golden hour.
- When Shooting Indoors: When shooting inside, you won’t need to add a lot of additional light. In reality, a basic speedlight with 50–60 watts of electricity ought to suffice. Depending on your budget, look at solutions from Flashpoint, Profoto, or the manufacturer of your camera. Simply reflect the light off the walls or ceiling, or soften it with an umbrella or softbox.
- Mimic the Sun: An outside shoot will require a little more effort to overcome the sun. For this light and airy photography advice, we suggest selecting a device with power closer to 500–600 watt seconds. To help direct more light, don’t forget to bring a reflector and a portable yet solid stand. Place some sandbags or even your camera bag against the light stand to keep it steady if you don’t have any assistance.
Choosing The Perfect Time and Location
- Golden Hour: Now that we’ve mentioned shooting during the golden hour, you might have noticed a pattern. The golden hour, which usually lasts for an hour or so after sunrise and an hour or so before sunset, offers a beautifully soft and warm light source with a low angle that helps lessen harsh shadows caused by the kind of “hard light” you’d encounter around noon. Golden hour is actually the most ideal time for outdoor photography.
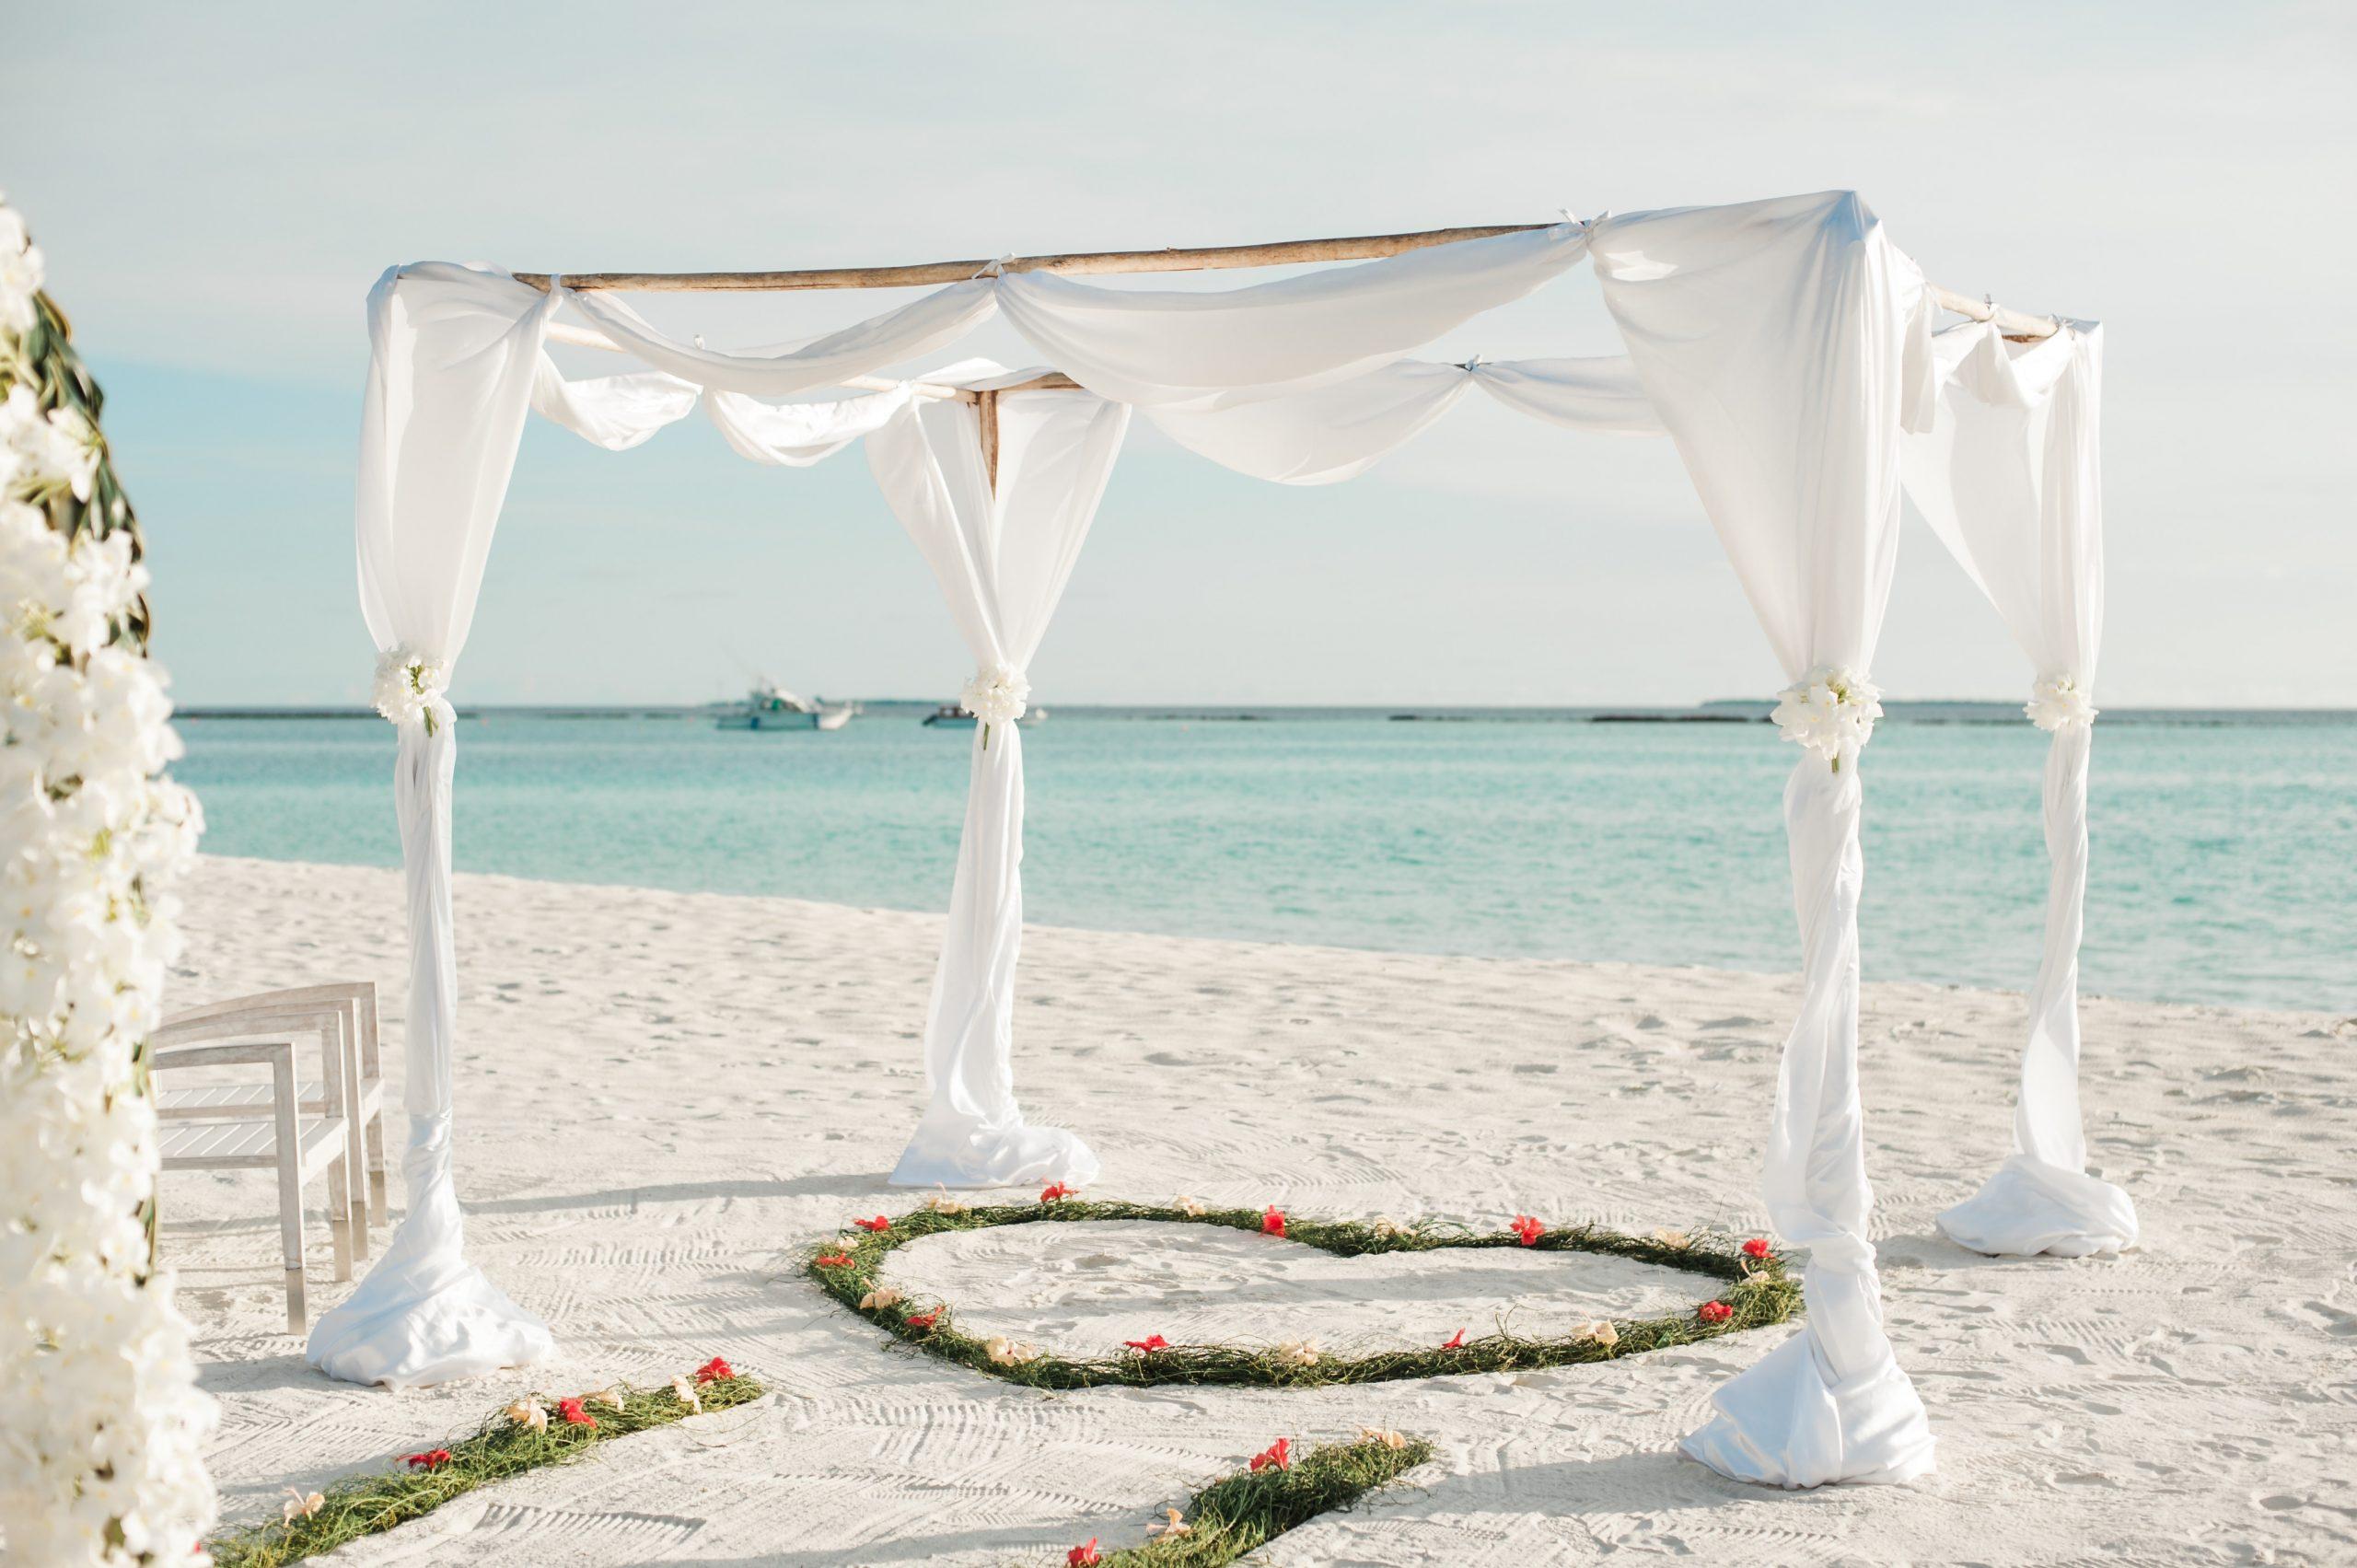
- The Perfect Spot: You’ll need to pick a suitable place in addition to a perfect time to take pictures that are light and airy. First of all, if you’re shooting during golden hour, you can discover that, when shooting near structures or on mountainous terrain, the hour ends earlier than anticipated. Instead of dappled sunlight, which you should avoid, vast open spaces or locations with full shade will work best. When shooting in or near buildings, seek out white or brightly colored walls to frame your subject against. When photographing at the beach or in the fields with neutrally colored, preferably light, foliage, a light, and airy photographic approach works well. The dark and somber aesthetic works well in dense, ominous woodlands. In contrast, high grasses alongside leafy trees are best for light and breezy images. Having said that, remember that you don’t need to go outside to take light and airy pictures. If you’re inside, try to position your subject close to a great window.
- Keep in Mind the Details: In addition to avoiding harsh, hard light and deep shadows, it’s necessary to minimize distracting items in images like lettering. People are naturally curious, so when we see writing, it diverts our focus from the main point so that we can read the sign, slogan, or whatever is being written. The same goes for busy designs on clothing or in the background. Patterns can be fascinating. Because our brains seek to understand and follow patterns, our eyes are drawn to patterns. Nothing but the subject should be appealing to us. Keep the rest simple and uncluttered. The rough texture is sometimes too overpowering for an image that is light and airy. Mixing light and shade are necessary to produce texture in a two-dimensional image. The texture will appear rougher the deeper the shadow is in relation to the light.
Setting Exposure
As the name implies, these pictures will be light and airy, so when choosing your exposure, be on the side of brightness. However, we really don’t need to overdo it to achieve a stunning photograph in this style. Light and airy photos are recognized for being slightly blown out, meaning we lose a little detailing in the highlights.
- Highlight Alert and Histogram: Using your highlight alert and the histogram is one of the first light and airy photography tips for avoiding blowing out features that you want to maintain. You can take bright pictures with enough detail retained by turning on these features and monitoring them frequently. The highlight alert will indicate any highlights that you’ve clipped or blown out, and the histogram will indicate any highlights that you’ve clipped or blown out. These two characteristics, when combined, have the power to distinguish between a keeper and an undeliverable image.
- Aperture, Shutter Speed, and ISO: Prime lenses have bigger apertures, so you will want to shoot as close to wide open as you can before adjusting the rest of our settings. Since lighting circumstances change, there is no set formula; nevertheless, by making the aperture our top priority, we can then adjust the shutter speed to either freeze or not to freeze motion and keep the ISO low.
- White Balance: It’s always possible to adjust the white balance in post-production, and in fact, your editing style may call for a color shift, but it’s always preferable to get it perfect in-camera. Photos that are light and airy typically have a brilliant white background, a neutral tone, and a warmer hue.
Editing for the Light and Airy Look
Getting things almost perfect on camera is the simplest approach to editing photographs that are light and airy. Pastel color grading frequently creates a similar color palette in light and airy photographs, but it’s not absolutely necessary. While light and airy photography lean mainly on the setting and the lighting, post-production is also a huge part of the equation. These kinds of bright and airy stunning images are largely the result of precarious editing.
- Pick a Preset: When you first start out in photography, you might believe that there is a preset out there that would magically transform your photos into those of your favorite photographers. Sadly, there is no one-click solution, but it does assist you in reaching your destination. Finding the settings that have the foundation of your desired effect and making adjustments from there. While there are many presets out there for you to purchase, you can also make your own.
- Creating Your Own Light and Airy Preset: If you don’t have any presets, you can always make your own preset. But first, you’ll need to know which adjustments to focus on. When it comes to white balance, lean towards a warmer white balance. If the image is underexposed, you can bump the exposure and the highlights. In case the highlights were blown out in-camera, back the highlights off and see which details you can recover. You might begin to notice posterization when adjusting your highlights and exposure. To fix this, use the tone curve to flatten the highlights a bit and lower the contrast. You want to minimize the contrast and shadows, but just like the highlights, the amount you will need to adjust these sliders will vary based on how we captured the image. Many light and airy photos use a pastel color scheme, similar to old film styles. Adjust your HSL settings to get the look you’re going for. For the perfect tone curve, first, create a subtle S-curve. Then, lower the highlight point to flatten the highlights and raise the black point to fade the blacks. To eliminate vignetting, apply a profile correction or inverted Radial Filter to brighten the edges. The Lens flare tool in light and airy photographs can create a noticeable, advantageous difference.
- Save Your Preset: If you want to attain the same light and airy pictures every now and then, it’s smartest to just save the presets. Try different versions of your own images while making the above-mentioned alterations. When you find a look you like, save you presets. Due to varying lighting conditions, a single preset may not be compatible with all of your light and airy images. But every new preset you make ought to contribute in some manner to modify the session for which it was made. Trust us, you will be really happy when you could edit a light and airy photograph in a matter of minutes, thanks to the preset you saved well ahead!
Every photography style has an appeal of its own, and we love good moody photography just as well as airy one. However, there is something about bright and airy photography which makes it a good contender for a happier memory. When your client wants to capture the happier and life-giving moments of life, this photography style might be the best option for you! Light and airy photography are not only happier, they are dreamy, whimsical, and sometimes feel other-worldly. With the right information, gears, and gears in mind, you can achieve it with low contrast, light shadows, and soft colors. You can also perfect the light and airy look during the post-processing. However, it is important to remember that beautiful light and airy photography will not be something that a professional photographer masters in a blink. It takes practice, patience, and a sprinkling of luck to get a light and airy picture that is just right!