Photography is a fascinating art that encompasses a multitude of styles and techniques, each capable of evoking different emotions and telling unique stories through the lens of a camera. Among these, professional silhouette photography stands out as a powerful and dynamic style that relies on the stark contrasts between light and dark to create dramatic portraits. In this comprehensive guide, we will explore the beauty of silhouette photography ideas and provide you with the tools and knowledge you need to master this timeless photography technique.
Silhouette photography combines and provides a refreshing perspective for shadow work photography, a play of shadows and light that reveals the beauty of minimalism. It can transform mundane scenes into captivating visual narratives where the subjects are reduced to their elemental shapes and forms. Whether you are new to professional photography or are looking to elevate your wedding photography skills, the magic of capturing silhouettes is not beyond your reach.
The Elegance of Silhouette Photography at Weddings
When you think of wedding photography, you might picture intimate portraits, joyful moments, and stunning backdrops. But what about the fleeting silhouettes that dance against the twilight or within the serene interiors of a chapel? Silhouette wedding photography is an artful way to capture the unspoken emotions and the timeless beauty of a wedding day.
A Story of Light and Love
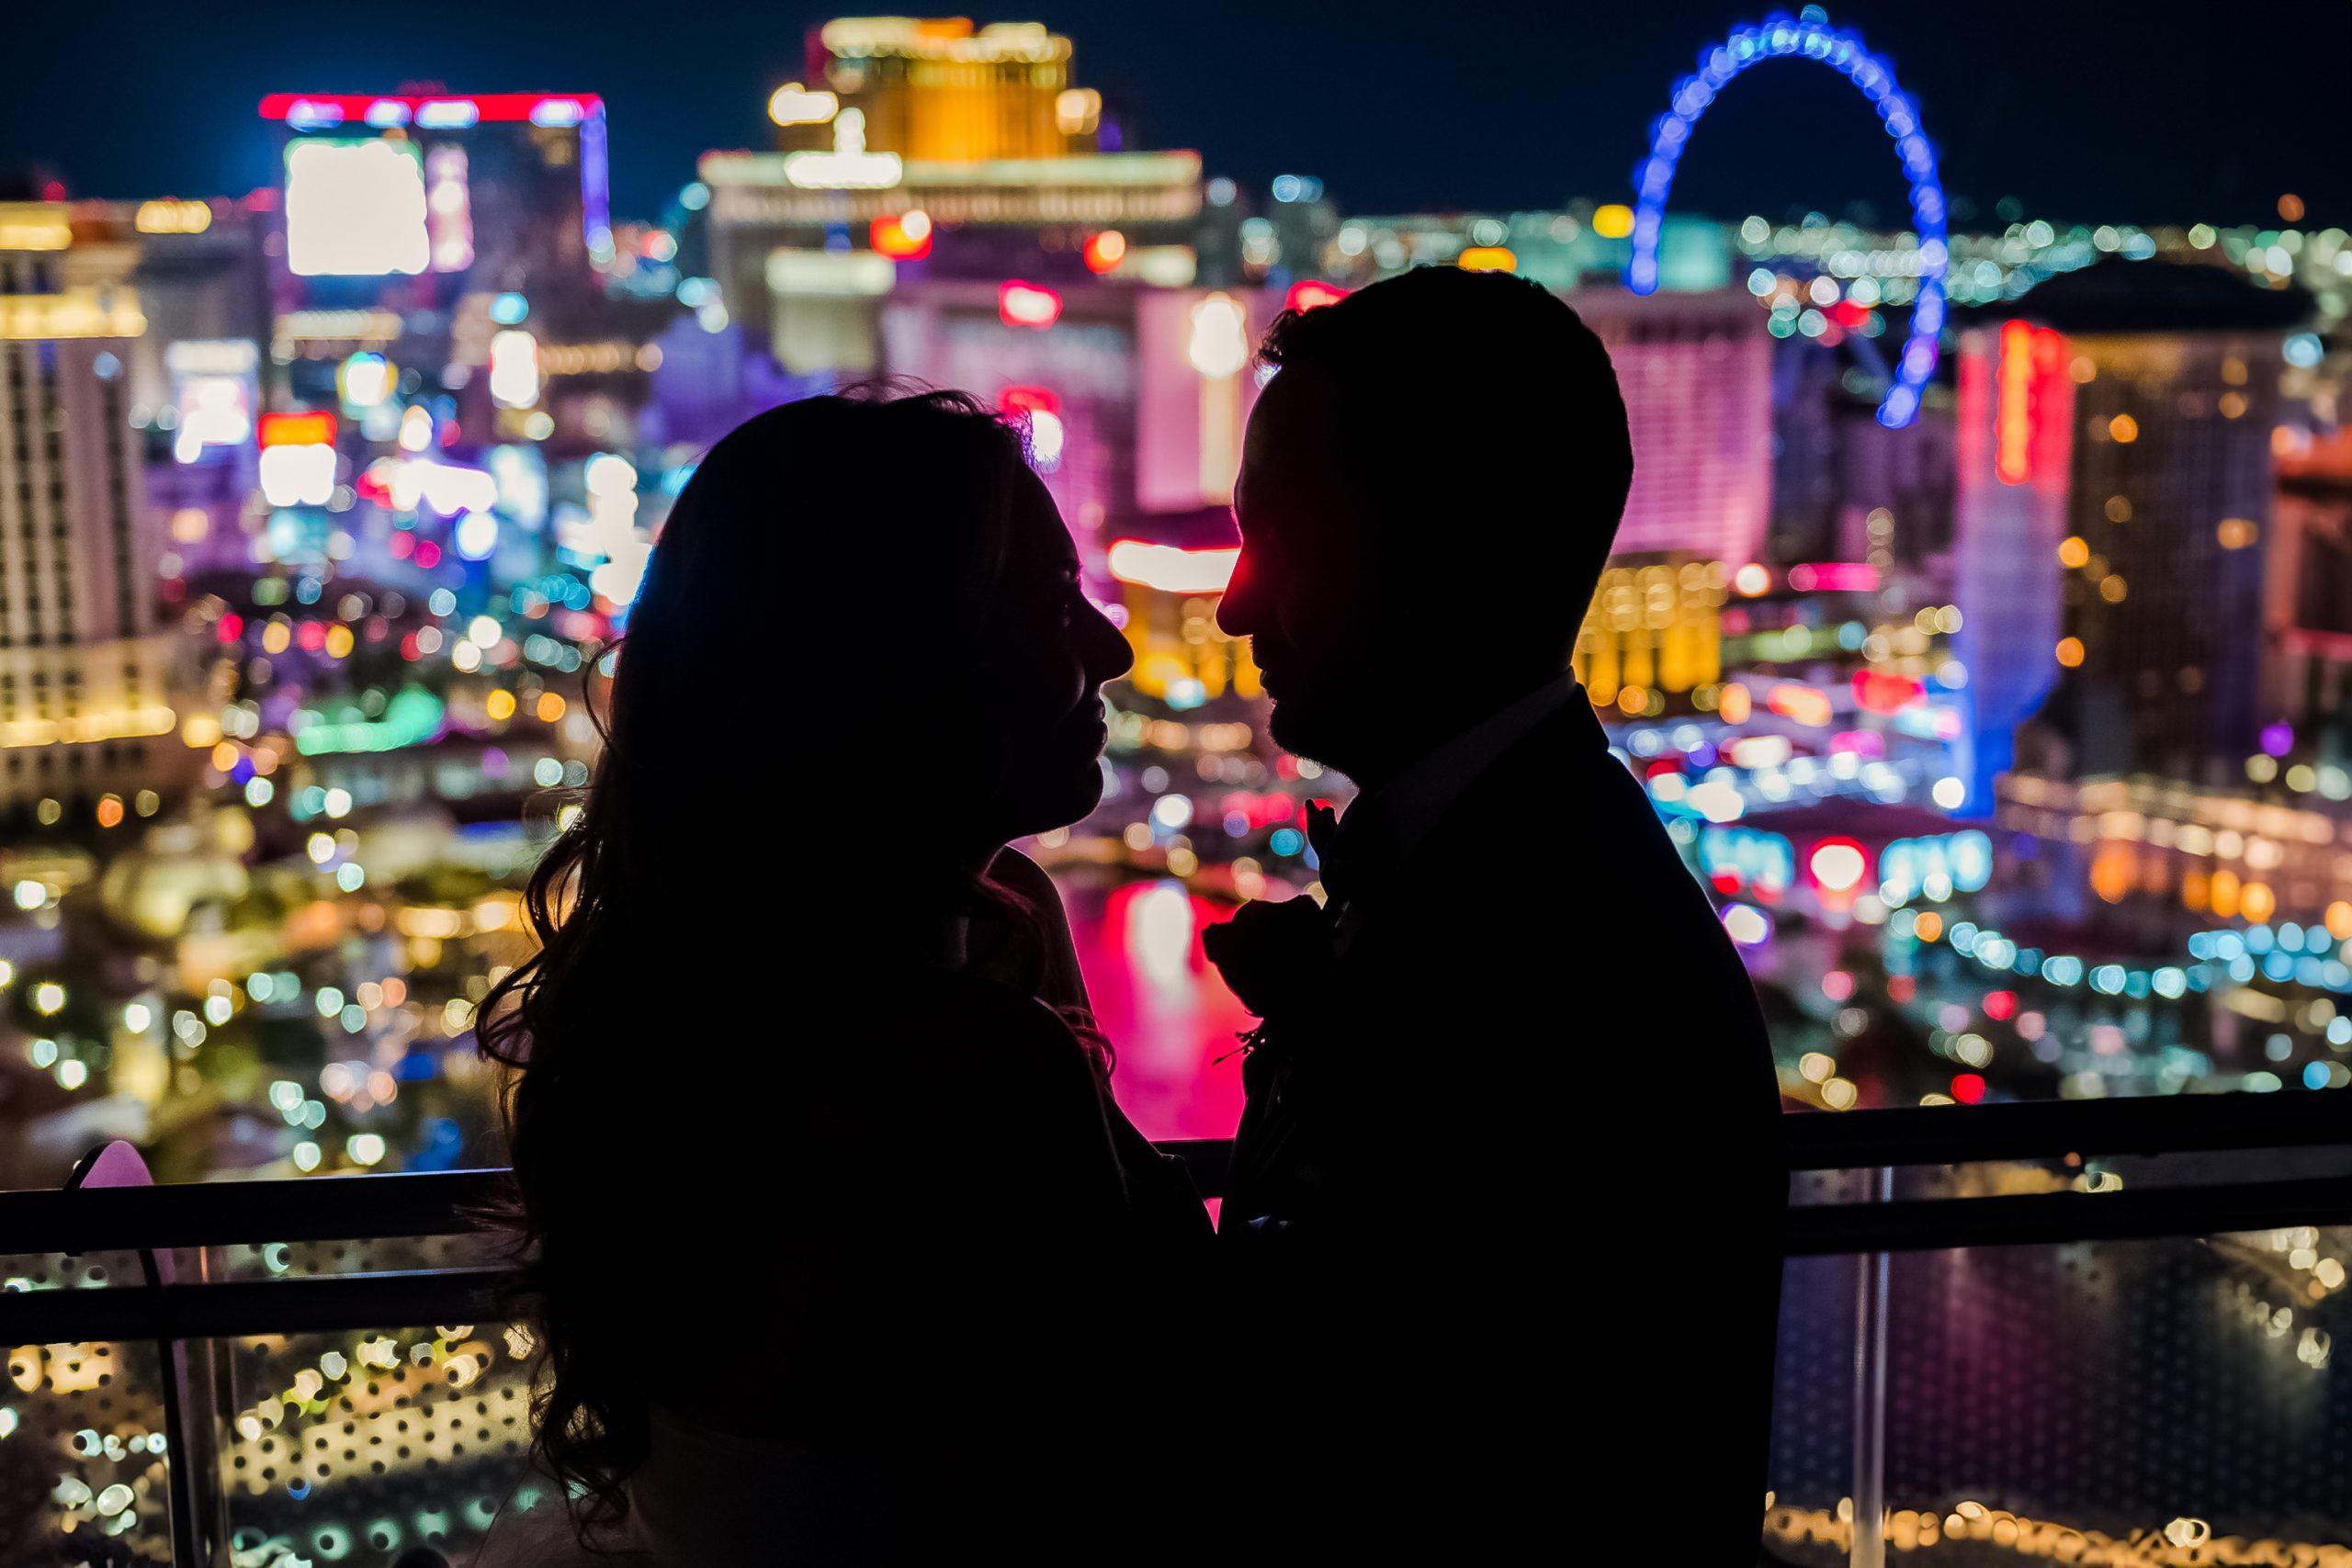
After the bride has walked down the aisle and the vows are exchanged, the natural light during golden hour provides an exquisite canvas for the silhouettes of your newlyweds. Imagine a shot where the couple’s profile embraces, their silhouettes cast against the dusky sky or a wall of windows, a testament to the light and love that fills the room. This is a moment that speaks beyond words, and the right silhouette portrait tips have the power to preserve it forever.
Dance Floor Silhouettes
The charm of a wedding also lies in the liveliness of its party. Here, wedding silhouettes come alive — the dynamic shapes of dancing guests, their joy frozen in time against the backdrop of celebration. Capturing candid portraits on the dance floor not only adds a creative edge to the wedding album but also serves as an artistic memento of the camaraderie and festivity that defined the evening.
Ensuring that your silhouettes are clear and sharp amid the movement and activity of the day requires a keen eye and timing. But with practice and the right silhouette photography techniques, every wedding photographer can make silhouette photography an enchanting component of their repertoire.
Incorporating Silhouettes into Your Wedding Photography
Pre-Visualizing Scenes
Wedding silhouette photography often appears spontaneously, so pre-visualizing and planning for these crucial wedding moment shots is crucial. You can note down the potential silhouetting elements at the venue — grand architecture, expansive skylines, or just the arrangement of ceremony seating. Visualizing your silhouettes beforehand will help you be ready to capture them when the perfect moment presents itself.
Using Props and Vantage Points
Wedding photography props can accentuate the aesthetics of silhouette photography at a wedding or engagement. For instance, a framed heart held up by the couple during late summer photoshoots can create a compelling silhouette of love and unity. Similarly, photography vantage points play a significant role in the success of your silhouettes. Whether from a high balcony or at ground level, the right photography angle can vastly improve the drama and elegance of your images.
Balancing the Elements
Silhouette photography demands a balance between the brightness of the background and the exposure of the subject. Use your camera’s manual mode to control the exposure, ensuring that the background is significantly brighter while the foreground remains dark. Sometimes, on your camera or smartphone, a simple tap on the brightest area of the image can fool the exposure into thinking the scene is brighter than it is.
30 Pro Tips for Professionals Silhouette Photography:
Silhouette Photography in Varied Lighting Conditions
Lighting in photography plays an unparalleled role in silhouette photos. To master silhouettes, you must learn to adapt to various portrait lighting situations from sunrise to the golden hour to the dead of the night.
1. Understand the Sun’s Angle
The best silhouette photographs are created when the sun is low in the sky — early in the morning or during the evening’s golden hour. This low-angle light will cast strong and elongated shadows, perfect for creating those iconic silhouettes.
2. Chasing Sunset and Sunrise
The warm, gentle light of the sunrise and sunset photography is a goldmine for silhouette photographers. Plan your shoots around these times and make the most of the soft, ethereal glow that adds a romantic quality to your silhouettes.
3. When Night Falls
Don’t shy away from experimenting with silhouettes after the sun has set. Nighttime photography can offer a palette of rich blues and purples that can make for a striking backdrop to black silhouettes.
Perfecting the Silhouette Pose
The right pose can elevate a good silhouette to a great one by providing context and story to the photo.
4. Profile is Key
The classic silhouette is a profile shot. Make sure your subjects stand or face directly away from the primary light source to ensure a clear, recognizable silhouette.
5. Poses That Pop
Encourage dynamic and expressive wedding photo poses that involve plenty of movement or passion. These can produce incredibly involving silhouettes. For instance, a bride twirling her dress or a groom dipping his partner in a dance.
6. The Shape of Things
Encourage your subjects to create interesting shapes with their bodies or with the use of professional photo props. This adds drama and can help tell a more engaging story within the silhouette.
Candid or Directed?
The debate between posed and candid silhouette photography continues. Both have their charm, and a mix of the two can result in a well-rounded photo collection.
7. The Candid Silhouette
Candid silhouettes can capture the raw emotion and atmosphere of a moment. Keep your distance and be ready to shoot when the perfect unplanned silhouette occurs.
8. How to Direct a Silhouette
Directed silhouettes can be just as powerful but require clear communication. Give your subjects specific photography instructions to achieve the desired effect, making sure your positioning and the light source are also considered.
9. Balance Prompting with Freedom
While direction is vital, too much can stifle the natural flow of events and body language. Balance the session with candid wedding moments, and remember that sometimes, less is more.
Using Backgrounds and Foregrounds
Silhouettes are not just about the subject; they are about the story the surroundings tell.
10. Selecting Appropriate Backgrounds
Understanding foreground and background in photography that contrast well with the subjects is crucial. This will emphasize the outlines and details of the silhouette. The more uniform or uncluttered the background, the better the subject will stand out.
11. Foreground Elements for Depth
Incorporate foreground elements to add depth and dimension to the scene. Overhanging branches, windows, or pillars not only frame the shot but provide a three-dimensional context to the two-dimensional form of the silhouette.
12. Leading Lines and Patterns
Look for natural leading lines in photography or repeating patterns in your background. These can draw the viewer’s eye towards the subject, reinforcing their importance in the composition.
The Technical Side of Silhouette Photography
Mastering the technical aspects of silhouette photography will vastly improve the quality and consistency of your images.
13. Camera Settings for Silhouettes
Manual mode in your camera gives you the most control. Focus on setting a narrow aperture (high f-stop number) to keep the entire silhouette sharp. Use a fast shutter speed to avoid motion blur and underexpose the shot to capture the detail in the shadows.
14. Using Spot Metering
Spot metering and understanding different photography metering modes can be incredibly useful in tricky photography lighting scenarios. It allows you to meter the exposure based on a specific point in the scene, ensuring that the silhouette’s background is properly exposed.
15. Leveraging Exposure Compensation
Sometimes, even with manual settings, the camera’s exposure meter can be tricked. Use exposure compensation to dial in the underexposure you need for the silhouette, especially when lighting conditions rapidly change.
The Role of Focus in Silhouettes
Focusing on silhouettes, particularly when the light source is behind your subject, can present challenges.
16. Manual Focus for Consistency
Consider switching to manual focus to maintain consistency in your silhouette shots. The camera’s autofocus system may struggle with subjects that are dark or lack contrast.
17. Using the Subject’s Outline
If you do use autofocus, focus on the edges of your subject’s outline. The contrast between the dark subject and the bright background should help the autofocus system lock on.
18. Depth and Background Sharpness
In most situations, you will want to keep the background sharp to maintain the integrity of the silhouette. Use a small aperture to increase the depth of field, allowing both the subject and the background to be in focus.
The Art of Composition
Professional photography composition remains a fundamental element of great photography, silhouette or otherwise.
19. The Rule of Thirds
Divide your frame using the rule of thirds with two horizontal and two vertical lines. Place the subject at the intersection of these lines to create a balanced and pleasing composition.
20. Balancing Negative Space
Give your subject room to breathe. Use negative space to balance the composition and to provide a sense of scale and context to the silhouette.
21. What’s In and Out of the Frame
Be conscious of what’s in the frame as much as what’s not. Each element should contribute to the story you are telling. Monitor the real-time edges by using them as a reference to keep details about the subject in the frame.
Lighting and Editing
Lighting and post-processing can significantly influence the impact of your silhouette photographs.
22. The Role of Directional Light
Directional light in photography, like that from a setting sun, can define the shape and texture of your subject. Experiment with having the light source come from different angles to see the varied effects it can create.
23. Editing Silhouettes
When editing, resist the temptation to lighten the shadows, which would detract from the silhouette effect. Instead, focus on adjusting the contrast and highlights to further accentuate the shape and drama of the silhouettes.
24. Understanding Color or Black and White
Consider whether your silhouettes are more powerful in color or black and white. Color can add mood and vibrancy, while black and white photos can enhance the contrast and focus on shape and form.
Capturing Moving Subjects and Animals
Silhouettes of moving subjects can be particularly challenging but also rewarding.
25. The Shutter Speed-Subject Relationship
Understand how the shutter speed affects the exposure of the subject and the degree of motion blur. A faster shutter speed will freeze the action, while a slower one will introduce blur for a sense of movement.
26. Predicting Movement
Anticipate the path and speed of your moving subjects. Use a high-speed continuous shooting mode to capture multiple frames and increase your chances of getting the perfect movement in your silhouettes.
27. Working with Anxious Animals
Calm animals are more likely to produce graceful and natural silhouettes. Take the time to make them comfortable and create an environment that is conducive to capturing the best shots.
Silhouettes in Group Settings
Multiple subjects can provide an added layer of complexity to silhouette photography.
28. Positioning Group Members
Each member of the group should be visible and their silhouette clear. Position people so that they don’t overlap in ways that would obscure the definition of their individual shapes.
29. Filling the Frame
When photographing group portraits, make sure to fill the frame appropriately. Too much space between group members can weaken the impact of their combined silhouettes.
30. The Connection Between Group Members
Finally, focus on the connection and interaction between group members. Silhouettes in close proximity can create interesting and complex shapes, further enriching the visual story.
Silhouette photography is not just a technical endeavor; it’s an art form that can express a wide range of moods and messages. Whether you are capturing the serenity of a solitary figure at dusk, the exuberance of dancers at a festive wedding, or the powerful bond between two lovers, understanding and harnessing the magic of silhouettes can greatly enhance your photographic storytelling. Remember, every silhouette tells a story. It’s up to you, the photographer, to tell it with passion and vision.