Welcoming neon wedding signs have a way of captivating us with their vibrancy and timeless charm. Distinctly associated with the pulse of urban life, neon sign portraits invite us to remember that we are beings of the night, drawn by the glow and the stories they tell. For professional photographers, capturing neon sign photos is more than mere photography skills; it’s an art form that requires technique, passion, and creative vision.
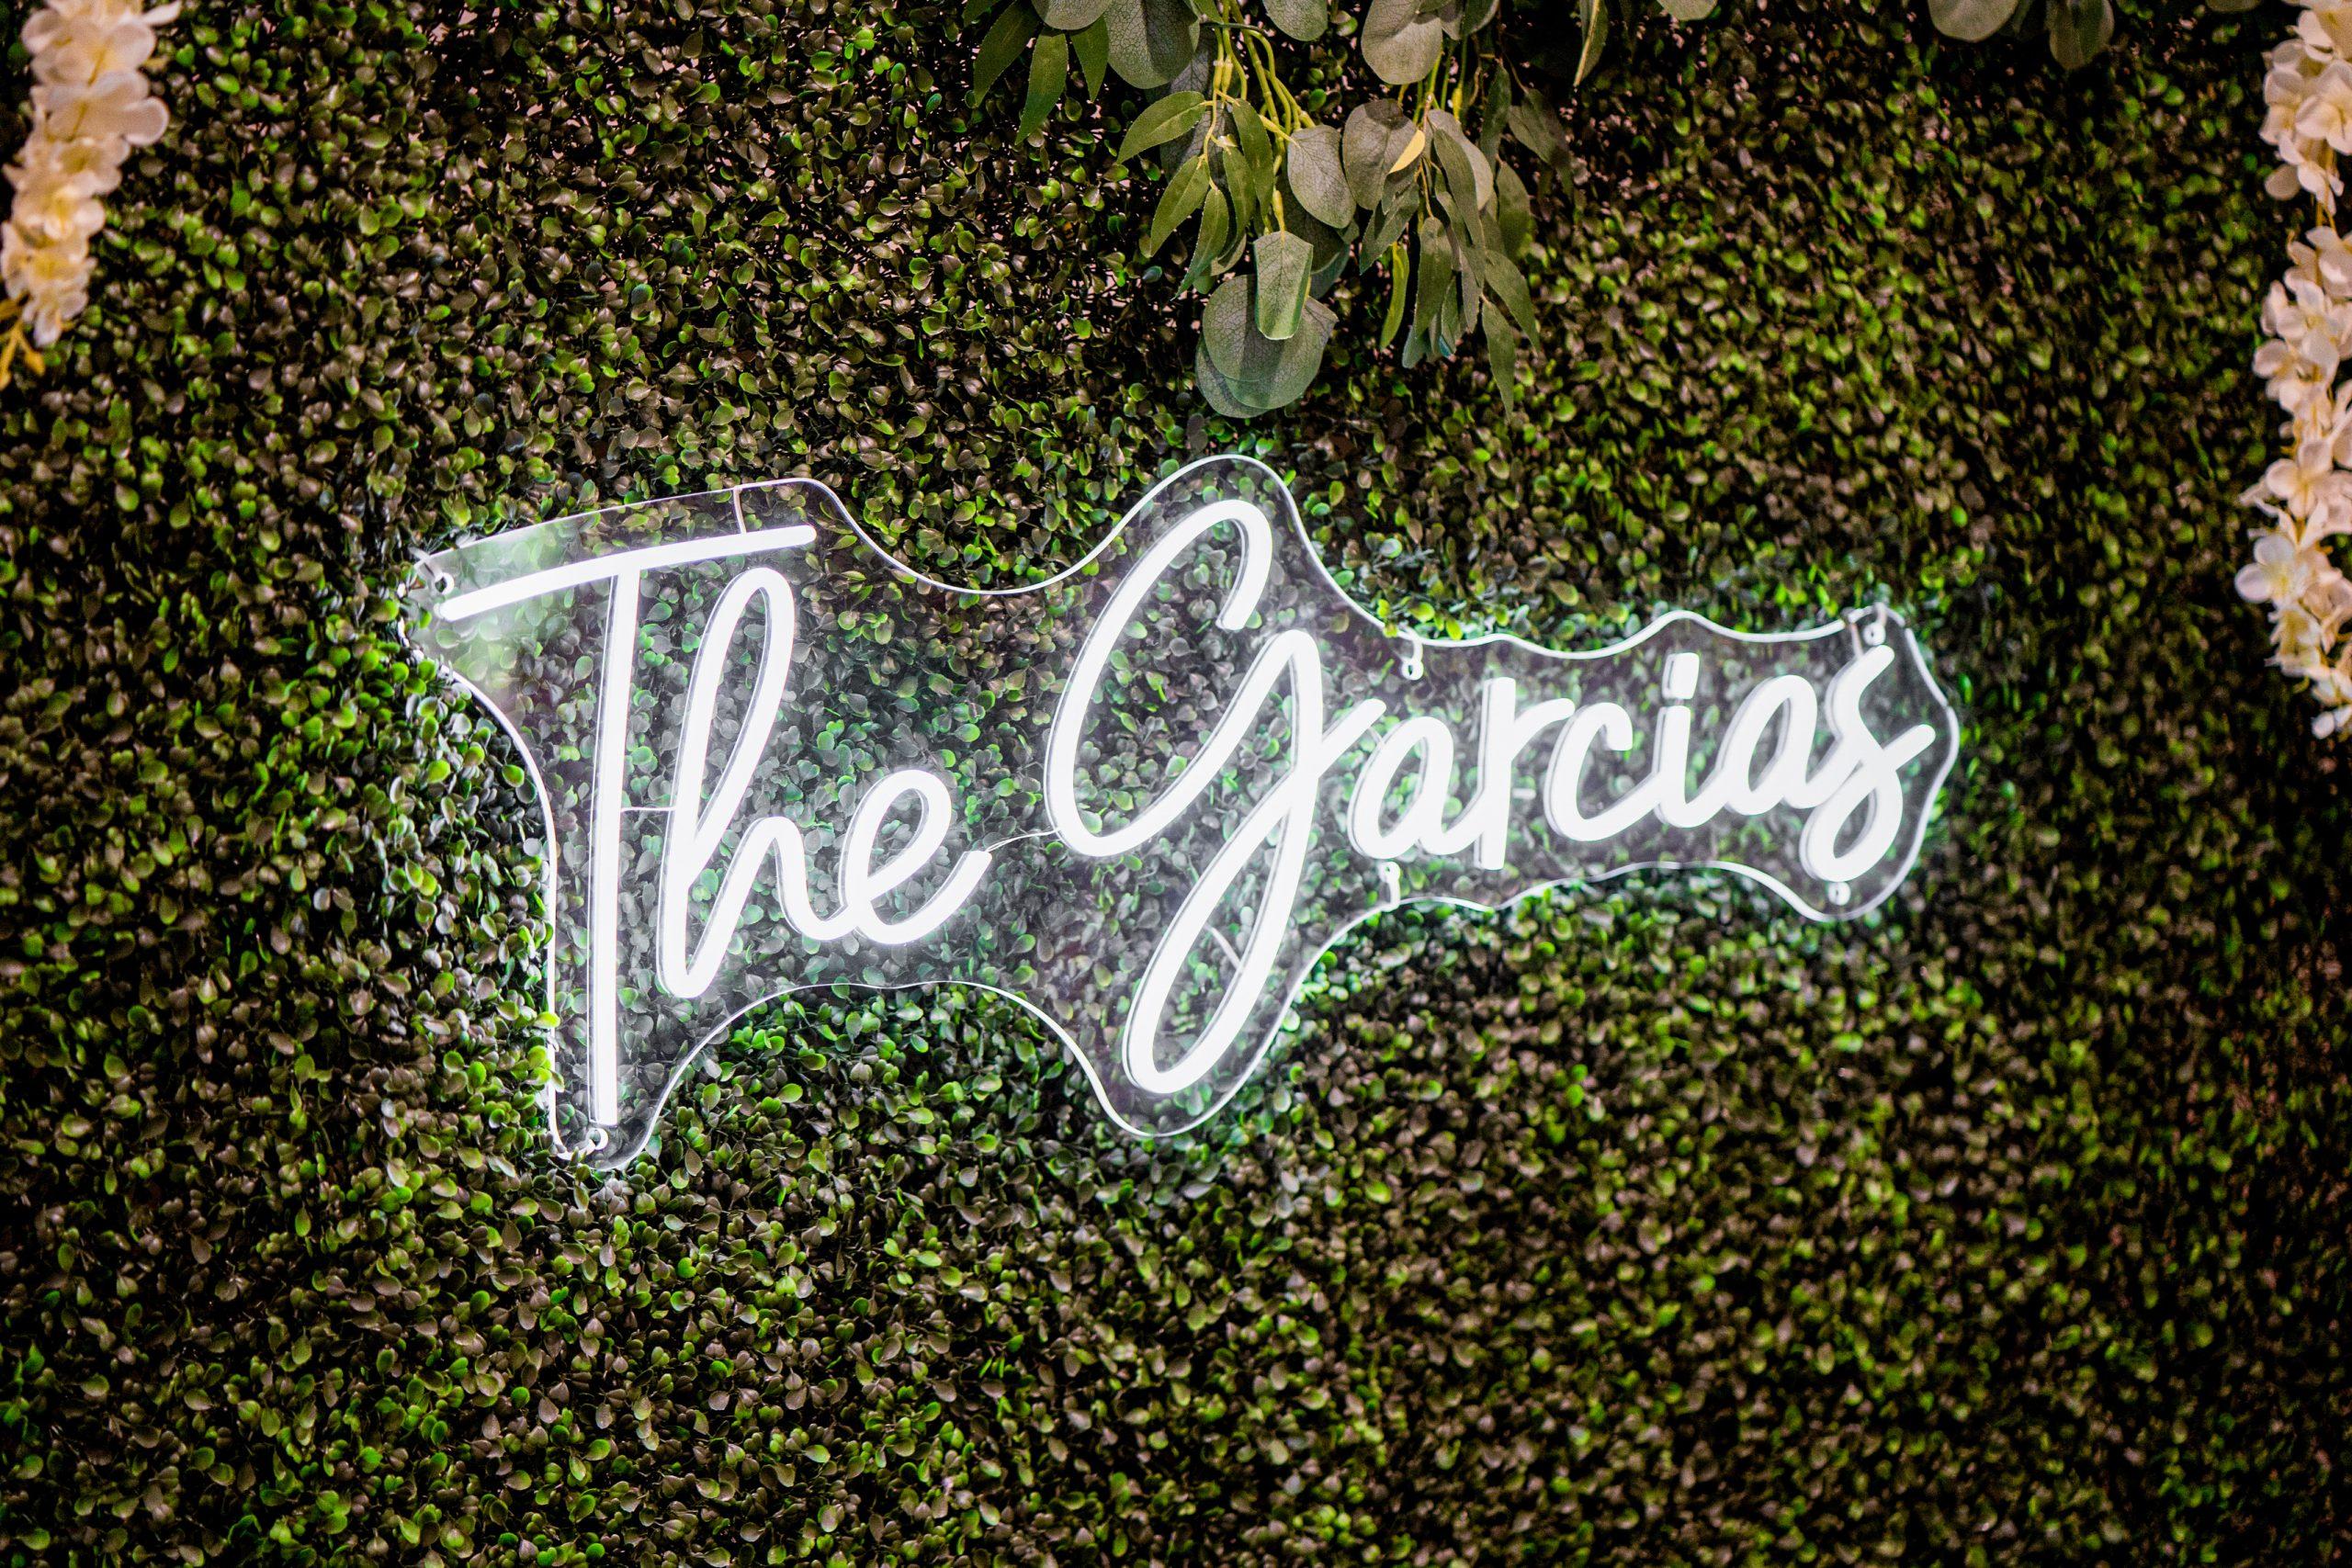
Neon signs have emerged as a captivating trend in modern weddings, offering a vibrant twist to traditional decor and photography. These glowing fixtures not only serve as unique, personalized elements that add a contemporary flair to wedding settings but also create dynamic, visually striking backdrops for photographs.
As noted by various sources, neon signs can transform the ambiance of a wedding, providing not just illumination but also serving as an artistic focal point. Their customizable nature allows couples to infuse personal messages or themes into their wedding space, making for unforgettable photo opportunities that capture the essence of their special day with a colorful, luminous glow.
Professional photographers, equipped with the right knowledge and passion, can use wedding neon light photos to add a unique aesthetic to their portfolios. Neon sign photography tips offer a blend of landscape, street, and portrait photography, and mastering this style can open doors to new creative ventures and client projects.
Throughout this comprehensive guide, we will discuss the distinct components of neon light photography. From understanding the allure to the technicalities of capturing neon signs, and from post-processing to drawing inspiration from expert photographers, we will equip you to master this fascinating niche in the world of photography.
Understanding Neon Sign Photography in Weddings
Weddings are a milestone in most people’s lives, and capturing those moments is an art. Creative neon signs have made their way into professional wedding photography as well, presenting photographers with endless creative opportunities. From the bride and groom standing under a neon-lit arch to showcasing the venue’s name in lights, neon signs can give way to dynamic and dramatic wedding portraits.
Before we plunge into the technical aspects of shooting neon signs, it’s important to understand the draw of neon lights from a photographer’s perspective. Neon sign portraits can evoke emotions and underline the role of light not just as an illuminator, but as a visual storyteller.
- Neon as Narrative: Neon signs often encapsulate the ethos of their surroundings — from historic landmarks to modern metropolises. They are silent markers of cultural flux and can speak volumes in a single frame. In essence, neon light photography allows photographers to capture not just the light but the essence of a place and time.
- Challenges of Neon Sign Photography: Shooting neon signs presents distinct wedding photography challenges. Neon lights are bright, which means that capturing them without overexposing the image can be quite a task. The contrasting colors can also throw off your camera’s white balance, making it crucial to experiment with settings to achieve the desired effect. In this guide, we will address these difficulties and provide strategies to overcome them.
9 Essential Equipment for Neon Sign Photography
To harness the beauty of neon signs, you will need more than just a good eye. Here is a list of essential wedding photography equipment and gear that will help professional photographers achieve optimal results:
Camera
One of the best professional cameras with manual settings is non-negotiable when shooting neon signs. This gives you control over your aperture, shutter speed, and ISO, allowing you to adjust to the bright lights and dark surroundings often encountered in nighttime photography.
Lenses
Get your hands on some of the finest and must-have wedding photography lenses, especially the ones with wide apertures that are excellent for neon sign photography. A lens with a wide angle can help in capturing more of the neon sign and its surroundings. Additionally, a prime lens with a wider aperture can help in shooting in low light conditions without compromising image quality.
Tripod
All the night photography tips demand longer exposure times, which makes a sturdy tripod invaluable. It ensures that your camera remains stable during long exposures, guaranteeing sharp images, and allowing for creative techniques like light trails.
Remote Shutter Release
To minimize camera shake and ensure crisp shots, a remote shutter release or the camera’s built-in timer can be used. This is especially important for exposures longer than a second where any movement can cause blurriness.
Filters
Neutral Density (ND) filters can be used to reduce the amount of light that enters the lens without affecting color. This can allow for slower shutter speeds during daylight, creating motion blur in any movement captured around the neon lights.
Spare Batteries and Memory Cards
The last thing you want is for your photo session to be interrupted by running out of power or memory. Having backups ensures that you can shoot for longer times without interruptions.
Camera Bag
Professional camera bags are essential for transporting and keeping your equipment safe, especially when navigating crowded urban areas to take neon sign photos.
Lens Cleaning Kit
Inevitably, lenses will gather dust and dirt, affecting image quality. Having one of the best lens cleaning kits on hand allows you to maintain the cleanliness of your lenses, ensuring clarity in your photos.
Lighting Tools
Understanding basic and professional wedding photography lighting tools can include flashes and additional lights if you wish to enhance your neon sign photography with supplementary lighting. They can also be useful for illuminating the foreground or adding splashes of color into the frame.
15 Techniques for Shooting Neon Signs
To get the best neon sign photographs, consider employing these techniques:
Scouting
Familiarize yourself with the area you will be shooting. Scout different photography locations and visit them during different times of the day to see how the light interacts with the neon signs and note any potential hazards or obstructions.
Use of Leading Lines
Incorporate elements as photography leading lines such as roads, walkways, or architectural features to guide the viewer’s eye toward the neon sign.
Foreground Elements
Including interesting subjects in the foreground of your photography can provide depth and context to your neon sign photographs.
Backlighting and Silhouettes
To understand photography backlighting, position the neon sign between your subject and a bright light to create striking silhouettes.
Neon Reflections
Seek out puddles, windows, or other reflective surfaces to capture the neon sign’s reflection, doubling the impact of your image.
Long Exposures
Experiment with your camera’s shutter speeds to capture the trails of cars or people passing by, adding dynamic elements to your photos.
Bokeh
We love the idea of intentionally blurred wedding photos! So you can use a wide aperture and focus on the neon sign to create a beautiful bokeh photography effect with the lights in the background.
Panoramas
Combine multiple frames to create wide panorama shots and sweeping photos that encompass the entirety of the neon sign’s layout.
HDR Photography
Take multiple shots of the same scene at different exposures and combine them later on to capture a wide range of light and color.
Time-Lapses
Create cinematic wedding videos of neon signs over an extended period, showcasing the changing lights and moods of the scene.
Monochromatic Conversions
Experiment with converting your neon sign photos to black and white photos to highlight the contrasts and luminosity of the sign.
Night Portraits
Incorporate neon signs into portrait wedding photography at night to add a unique and colorful backdrop to your subject.
Starry skies
Shoot neon signs under a clear night sky to contrast the ordered chaos of man-made light against the vastness of the universe.
Motion Blur
Shoot pan shots with moving lights to create a sense of speed and energy in your neon sign photos.
Double Exposure
With the right professional camera equipment, you can experiment with double exposures to layer different neon signs or elements for an ethereal effect.
Creative Approaches to Neon Sign Photography
Neon photography tips aren’t just about capturing what’s there; it’s about seeing it in new ways and telling stories with color and light. Here are a few creative approaches:
- Playing with Reflections: Seek out puddles, glass, or metallic surfaces for reflection photography that can create a dreamlike ambiance or highlight the neon element.
- Framing: Use natural or architectural photography framing techniques to focus attention on the neon sign and create a sense of context within the environment.
- Angles and Perspectives: Don’t be afraid to explore and look for unique vantage photography points. Shoot high or low, from the side, or through objects to add layers to your composition.
- Close-Ups: Sometimes, isolating a section of a neon sign can be more powerful than showing the whole thing. A close-up shot in photography can also reveal details and textures that might be missed at a distance.
Post-Processing Tips for Neon Sign Photography
Post-processing is where the magic often happens, allowing photographers to enhance the neon glow and tailor the atmosphere of their images. Here are some tips for post-processing neon sign photos:
- Adjust White Balance: Be sure to accurately set the white balance to counteract the overwhelming color casts that neon signs emit.
- Contrast and Saturation: Increase photography contrast to make the colors pop, and tweak the saturation for a more intense or realistic look, depending on your artistic goals.
- Exposure Adjustments: Fine-tuning exposure can help bring out details in the shadows or prevent blown-out highlights, especially when dealing with a high dynamic range or HDR photos.
- Dodging and Burning: In your photos, use dodging and burning techniques to selectively lighten or darken areas of your image, drawing attention to the neon sign or balancing the overall composition.
- Color Splash Techniques: Highlight the neon colors against a monochrome background for dramatic effect by desaturating the background or utilizing layer masks.
- Noise Reduction and Sharpening: Adjust these settings to counteract the grain that can be introduced by long exposures or to take your image’s sharpness to the next level.
Neon sign photography offers endless creative opportunities with its vibrant colors, glowing lights, and urban landscapes. With the right professional photo equipment and techniques, you can capture stunning images that not only showcase these iconic signs but also tell unique wedding stories through light and color. Don’t be afraid to experiment and push your boundaries to create truly remarkable neon sign photos.
One of the first steps to mastering neon sign photography is understanding your photography equipment. It’s essential to have a camera with manual controls, as this will give you more flexibility and control over your images. A professional photography tripod is also crucial for keeping your shots steady and avoiding blurry photos. Additionally, incorporating different lenses can help you achieve different effects and perspectives in your photos.
When it comes to photography composition, there are no set rules in neon sign photography. However, paying attention to elements such as leading lines, symmetry, and framing can greatly enhance the overall impact of your images. Try moving around and experimenting with different angles to find unique compositions that work best for each particular sign.
The allure of neon sign photography at weddings is not just the capturing of light, but the emotional narrative each sign offers. For professional wedding photographers, exploring this niche can yield not only beautiful images but also personal and professional growth. By understanding the technicalities, mastering the equipment, and constantly experimenting with creative methods, photographers can use this distinctive style to enhance their portfolios and create compelling visual stories.
Remember, in the world of neon wedding photography, the venues are your studio and the night is your canvas. With these tips and resources, you are well on your way to becoming a master of this energizing form of artistic expression. Now, go forth, and shoot neon! In the end, keep your photography equipment safe and your eyes open for new shooting locations, and let your imagination guide you on your neon sign photography journey. So go out there, explore, and capture the beauty of neon signs in all their glory! Happy shooting!